


At WINco we offer an installation service for all our parquets, for which we have a team of professional installers with more than 25 years of experience.
For those customers who choose to install our products themselves, we advise you to read this WINco Parquet Installation Guide carefully.
WINco parquets are natural wood floors. Modern production technology, critical sorting and quality control do not eliminate wood’s natural properties. Wood is hygroscopic, i.e. a living material, so it absorbs and loses moisture in accordance with the humidity and temperature of the air. Thus the volume of the wood increases when it absorbs moisture and decreases when it loses moisture. When a wood floor is installed as a floating structure, it is important to leave expansion joints (approx. 10 mm) between the installed floor and solid structures so that it can expand and shrink as moisture and air temperature fluctuate. If a wood floor has no space for what is called natural expansion, stresses can arise.






QUALITY INSPECTION AND LIABILITY FOR DEFECTS
Quality inspection and final acceptance prior to installation are the joint responsibility of the owner and installer, even if the owner was not present during installation. To lay parquet, the installer must follow an acceptable situation assessment both before and during installation. Before commencing the installation, check that the boards are sufficiently illuminated or in daylight so any visible defects can be detected. Also check the colour and structure of the boards.
Wood selection characteristics such as knots, the natural grain pattern and colour variation are not defects. To evenly distribute boards containing grain patterns and colour variation, we recommend selecting the boards to be installed on it from different packages. Any defective boards should be left unused or installed in other suitable locations, such as at the ends or at the beginning of rows. Each board installed on the floor is considered approved by the installer and/or the owner.
The installer is responsible for checking the subfloor for any moisture and level deviations. And they must also ensure that all requirements for the installation conditions set out in the installation instructions, as defined in the floor installation specification, are met. The manufacturer does not accept any claims on the product after installation. Liability for defects only covers WINco parquets that have been installed and maintained in accordance with the instructions.

TIMING AND PLANNING OF THE INSTALLATION
Wooden floors should be installed after all other construction work has been completed. In addition, you should make sure that wet materials (such as infill material) have dried sufficiently and that the conditions in the room are optimal for installing WINco parquet. Wood flooring expands and shrinks less in length than in width, so we recommend installing the floor parallel to the longest wall. Always undertake installations in narrow spaces and longitudinal corridors. When the installation is to be completed transversely, an expansion joint of at least 10 mm must be left every 6 m so that the floor can expand and shrink transversely.

EXPANSION JOINTS
In order to make an allowance for the expansion or contraction of the flooring as air humidity fluctuates, the parquet must be separated from the solid parts of the building by an expansion joint approx. 10 mm wide. Solid structures include, among others, surrounding and penetrating walls as well as heating ducts. An expansion joint should also be left around other obstructions, such as pillars, stairs, kitchen islands, fireplaces, tiled floors and thresholds, as well as under door frames. For large continuous floor areas (more than 10 m long or more than 6 m wide), the expansion joints should be larger than those mentioned above. In a room wider than 6 m, the expansion joint must be increased by 1.5 mm for every metre greater than 6 m. Fixed structural elements include the surrounding and partition walls as well as the heating pipes. Expansion joints should also be left under door frames and around other obstructions such as pillars, stairs, kitchen islands, fireplaces, tiled floors and thresholds. Expansion joints must be covered with suitable skirting boards.

SUBFLOOR AND MOISTURE BARRIER
The subfloor must be uniform. The permissible deviation is 2 mm per 2 m. The levelling is checked by placing a tab against the subfloor and measuring the remaining space between the subfloor and the floor. Differences exceeding the permissible limit must be levelled out by sanding or by applying suitable filler material. The subfloor must be immovable, strong, solid, straight, dry and clean. Be aware that even small loose debris can cause irregularities that can affect the floor. All fitted carpets and similar coverings must be removed. The underlying material should be as inelastic as possible. Suitable floors include: plywood or chipboard subfloors, concrete surfaces, marble and slab floors, linoleum and PVC.
Please note that an underlay material with a moisture barrier or similar moisture barrier must always be installed on a concrete floor (e.g. 0.2 mm thick PE plastic, overlapping seams approx. 20 cm or glued).
The subfloor moisture must be measured once more prior to installation. We recommend having the moisture content of the concrete measured by a professional. Ensure that the subfloor is dry throughout the installation area (also under any stored building materials). Accurate subfloor moisture measurements can be obtained using appropriate moisture meters. If the relative moisture of the subfloor is above 80% (max. weight percentage 3.0), DO NOT start laying parquet!
Read this instruction carefully before laying the parquet. Liability for defective wood does not apply to products that have been installed or maintained contrary to instructions.

LEVELLING AND SUBFLOOR MOISTURE
• The subfloor must always be carefully checked to ensure that the requirements of the instructions are met.
• Floor appearance: the best and most balanced result can be achieved by installing the boards, which are made of real wood, so that the natural colour variation and characteristics of the wood are shown in the complete floor so that the individual board is a suitable choice for the following board.
• Liability for defects: please note that when the floorboards have been installed, you have approved them. Do not install any boards in a place where they do not appear to form a tongue-and-groove design. These boards can be used elsewhere on the floor or any unsuitable piece can be cut off and the remaining piece can be used as the first or the last board in the row.
• Expansion joints: carefully follow the instructions below on expansion joints. Floor size, direction of installation, fitting of accessories and suitable skirting boards are all of great importance when planning lifelong flooring.

UNDERFLOOR HEATING
WINco parquets can be safely installed in an underfloor heating system. Underfloor heating must be evenly distributed over the entire floor surface. The subfloor should be allowed to dry for approximately two (2) weeks before the floor is installed. Please follow the instructions below:
- Increase the temperature daily by approximately +5°C until the heating effect is approximately 50% of the maximum. Do it also in summer.
- Then increase the floor heating temperature to maximum for a period of 3 days.
- Reduce the heating so that the surface temperature of the subfloor is lowered to +18°C. Ensure sufficient ventilation during the heating and cooling phases.
- Install the floor according to the instructions.
- Increase the temperature gradually over a period of 5 days, and make sure that the surface temperature of the wood floor never exceeds +27°C. Do not cover the floor even partially at this stage. Relative humidity should be kept between 35 and 60%. The recommended room temperature is +18-24°C.
- If conditions deviate from this, the floor may expand or shrink to an exceptional degree. The manufacturer, seller or installer cannot be held liable for such changes.
When installing the floor in an underfloor heating system, the following aspects borne in mind:
- The floor surface temperature should not exceed +27°C. Please note that regular carpets increase the floor surface temperature by approximately +2°C.
- The floor temperature may not fluctuate regularly by more than 2°C (night-time electricity).
- Regardless of the subfloor material, a moisture barrier must be used with underfloor heating in connection with subfloor solutions.
- Use an expansion joint to separate areas of the floor that are not equipped with underfloor heating from areas that are.
- If underfloor heating cables or pipes are installed at a distance of less than 30 mm from the subfloor material of the wood floor, the surface temperature of the floor must not exceed +25°C.

UNDERFLOOR COOLING
WINco floors can, in most cases, be installed in an underfloor cooling system. But in such cases, it is advisable to glue the wood floor in the tongue and groove regardless of the type of tongue and groove.
Preparations:
Store the boards in unopened packages (the storage facility should be dry, the relative humidity should be 35-60%, and the indoor temperature should be +18-24°C). Prior to installation, the flooring material should be stored for 2-3 days in conditions similar to the conditions (of relative humidity and temperature) of the room in which it is to be installed. The packages should be stacked on a flat surface so that air can circulate between them. Packages should also be kept away from direct heat sources (such as radiators or direct sunlight). Do not open packages until the installation starts and only open as many packages as needed per day.
Ensure that the base materials (moisture barrier and impact sound insulation) and tools required for installation are ready for use. Always check the suitability of the moisture barrier and sound insulation material for WINco wood flooring.
The base material must not be too thick (< 3.0 mm) or too flexible. The compression must not exceed 25% of the material thickness at a load of 2.4 tn/m2 (DIN53577).
Necessary tools:
Measuring tape, felt-tip pen, test square, installation wedges for expansion joints, circular or cross-cut saw, clamping device, tapping block, chisel, hammer, knife and wood glue (PVA glue).
Installation:
First, calculate the required number of slats.
Measure the total width of the room with the measuring tape. Then divide by the width of a floorboard to determine how many full rows of floorboards should be placed in the room. Make sure that the last row of floorboards is wide enough. Do not forget to leave expansion joints. Use boards from different packages during installation to create a floor that matches the grade.

INSTALLATION OF A TRADITIONAL SLOT SYSTEM
Open three or four packages at the same time so that you can install the floorboards in the desired order. Each board is unique.
Place the grooves of the first floorboards against the wall and attach them to the boards of the first row by gluing them only at their grooves and end tabs. In the longitudinal direction of the board, create an expansion joint of approximately 10 mm along the wall.
If the wall is straight, you can place wedges between the wall and the row of boards when you have installed three rows of boards. If the wall is not straight (e.g. old buildings), produce the shape of the first row of boards so that the installation can be carried out along the desired line. Apply a sufficient amount of PVA glue to the edge of the groove on the side of the surface and press the floorboards together. All side and end seals must be pressed tightly together. If glue gets on the surface of the board, wipe it off immediately with a damp cloth
While the glue is still wet, use a pull bar to ensure that the last floorboard in the row (end joint) is securely in place. Always start a new row of board with the sawn board left over from the previous row. This reduces the amount of waste produced during installation. Install the boards so that the joints of adjacent boards overlap by at least 50 cm. Join the boards together by tapping them firmly on the tongue side of the board with the help of a block. Start at the free end of the board and proceed to the end joint. This prevents gaps at the ends of the boards. Be careful not to damage the surface of the floorboard when using the block to strike. Let the glue of the first three rows dry for about 2 hours to provide a good starting point for the following rows. Then, install the rest of the floorboards. Saw the last row of boards to the required width. Please note that the distance from the wall should be approximately 10 mm. Use a pull bar to ensure that the boards are properly positioned. Allow the glue to dry for 12 hours before removing the wedges (no later than 24 hours after installation) and install the skirting boards.

Pipes

Doors and door frames

Hallways

Skirting boards
VIEW CLEANING AND MAINTENANCE
HOW TO LAY PARQUET AT A GLANCE
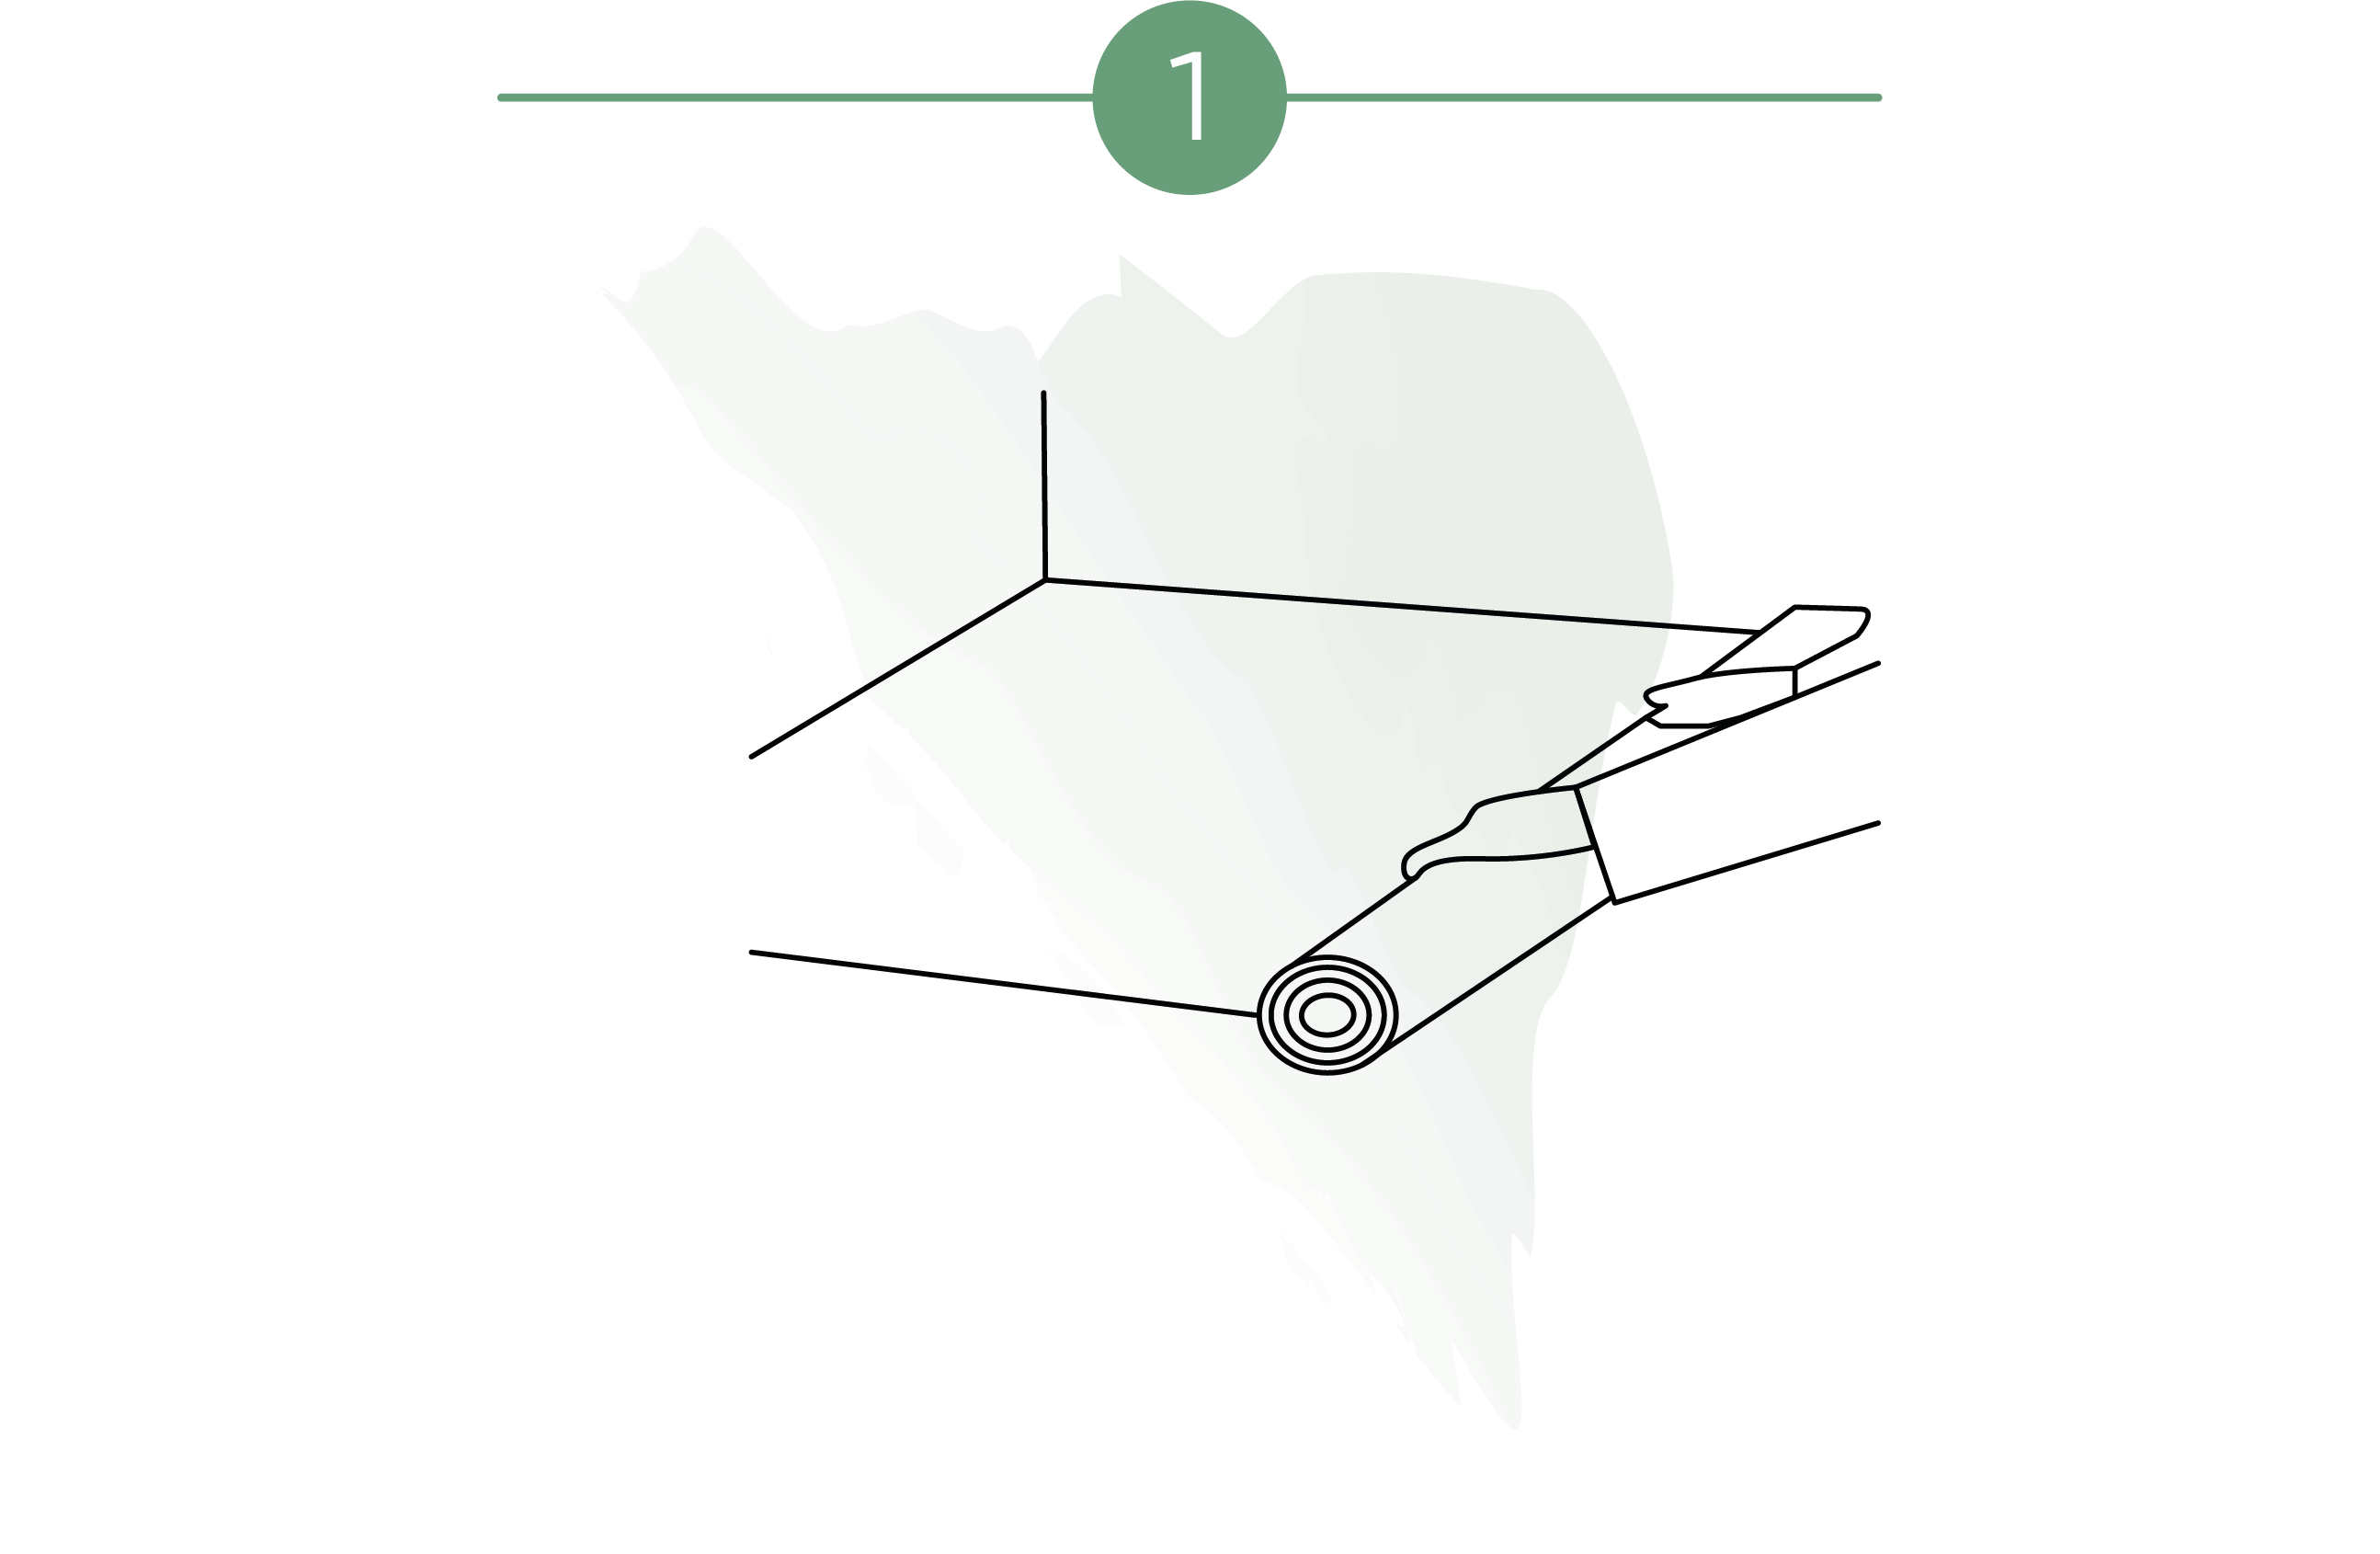
Check that the floor is dry, even and clean.
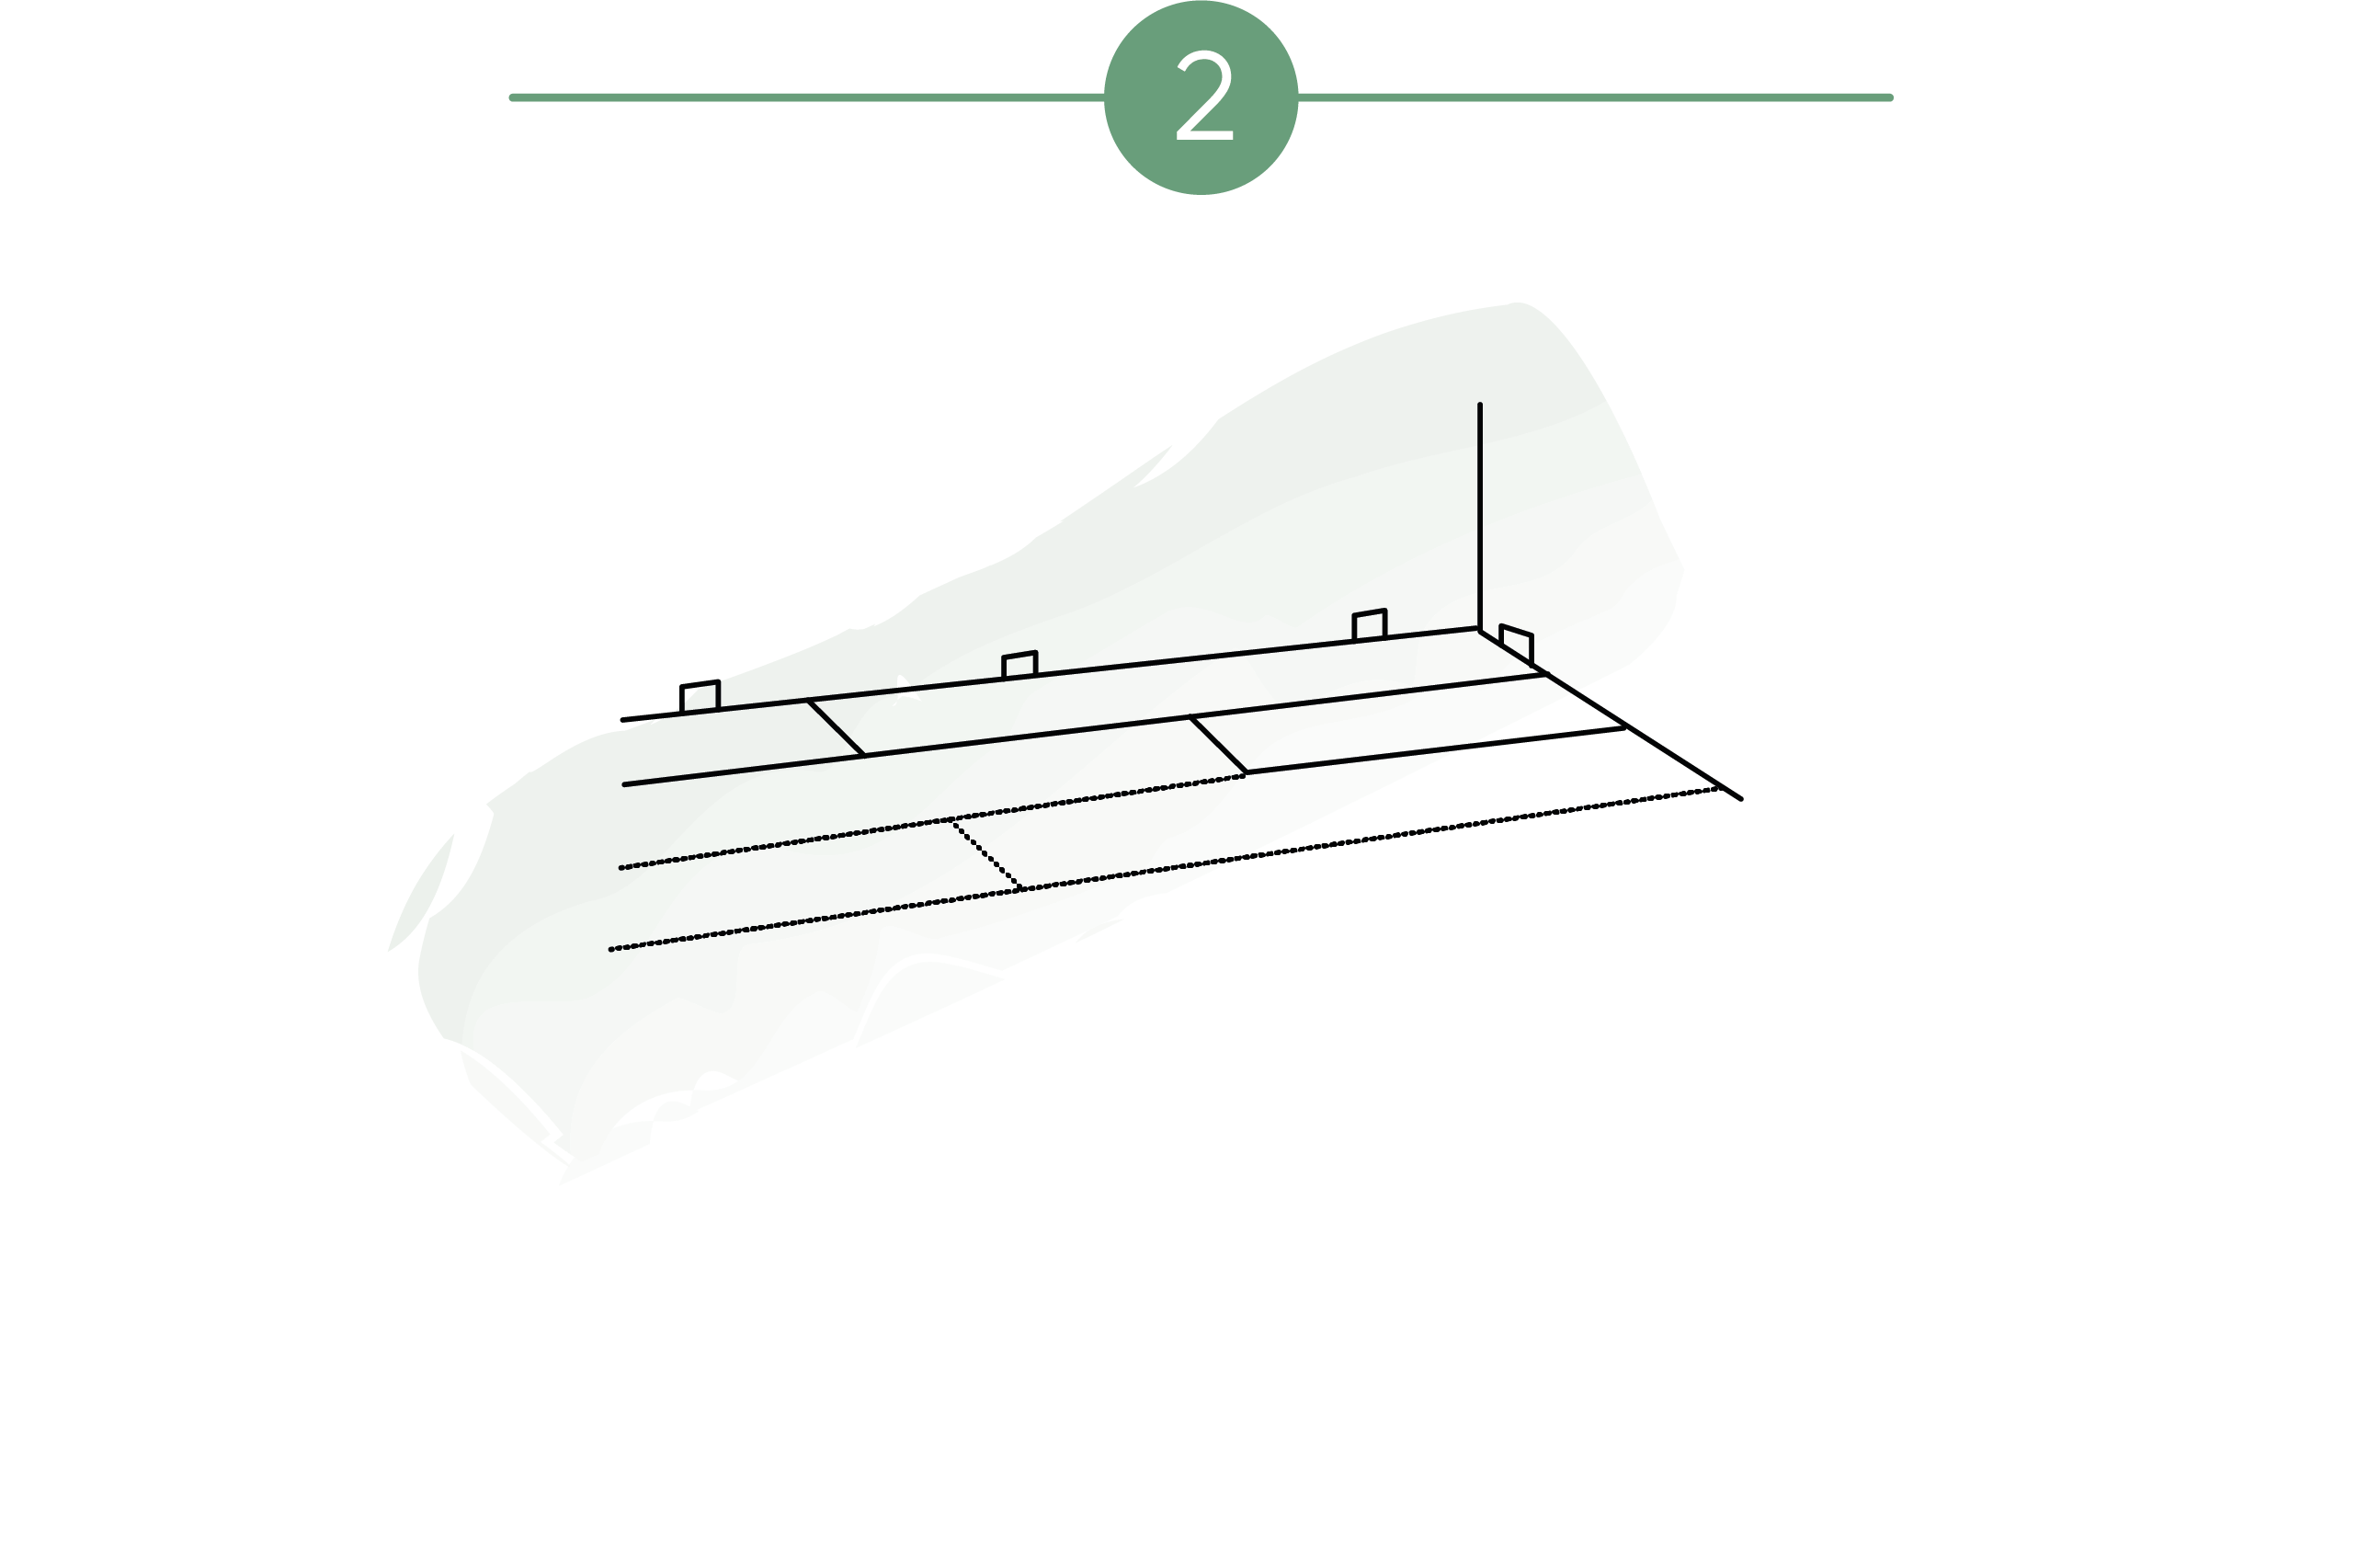
Establish expansion joints.
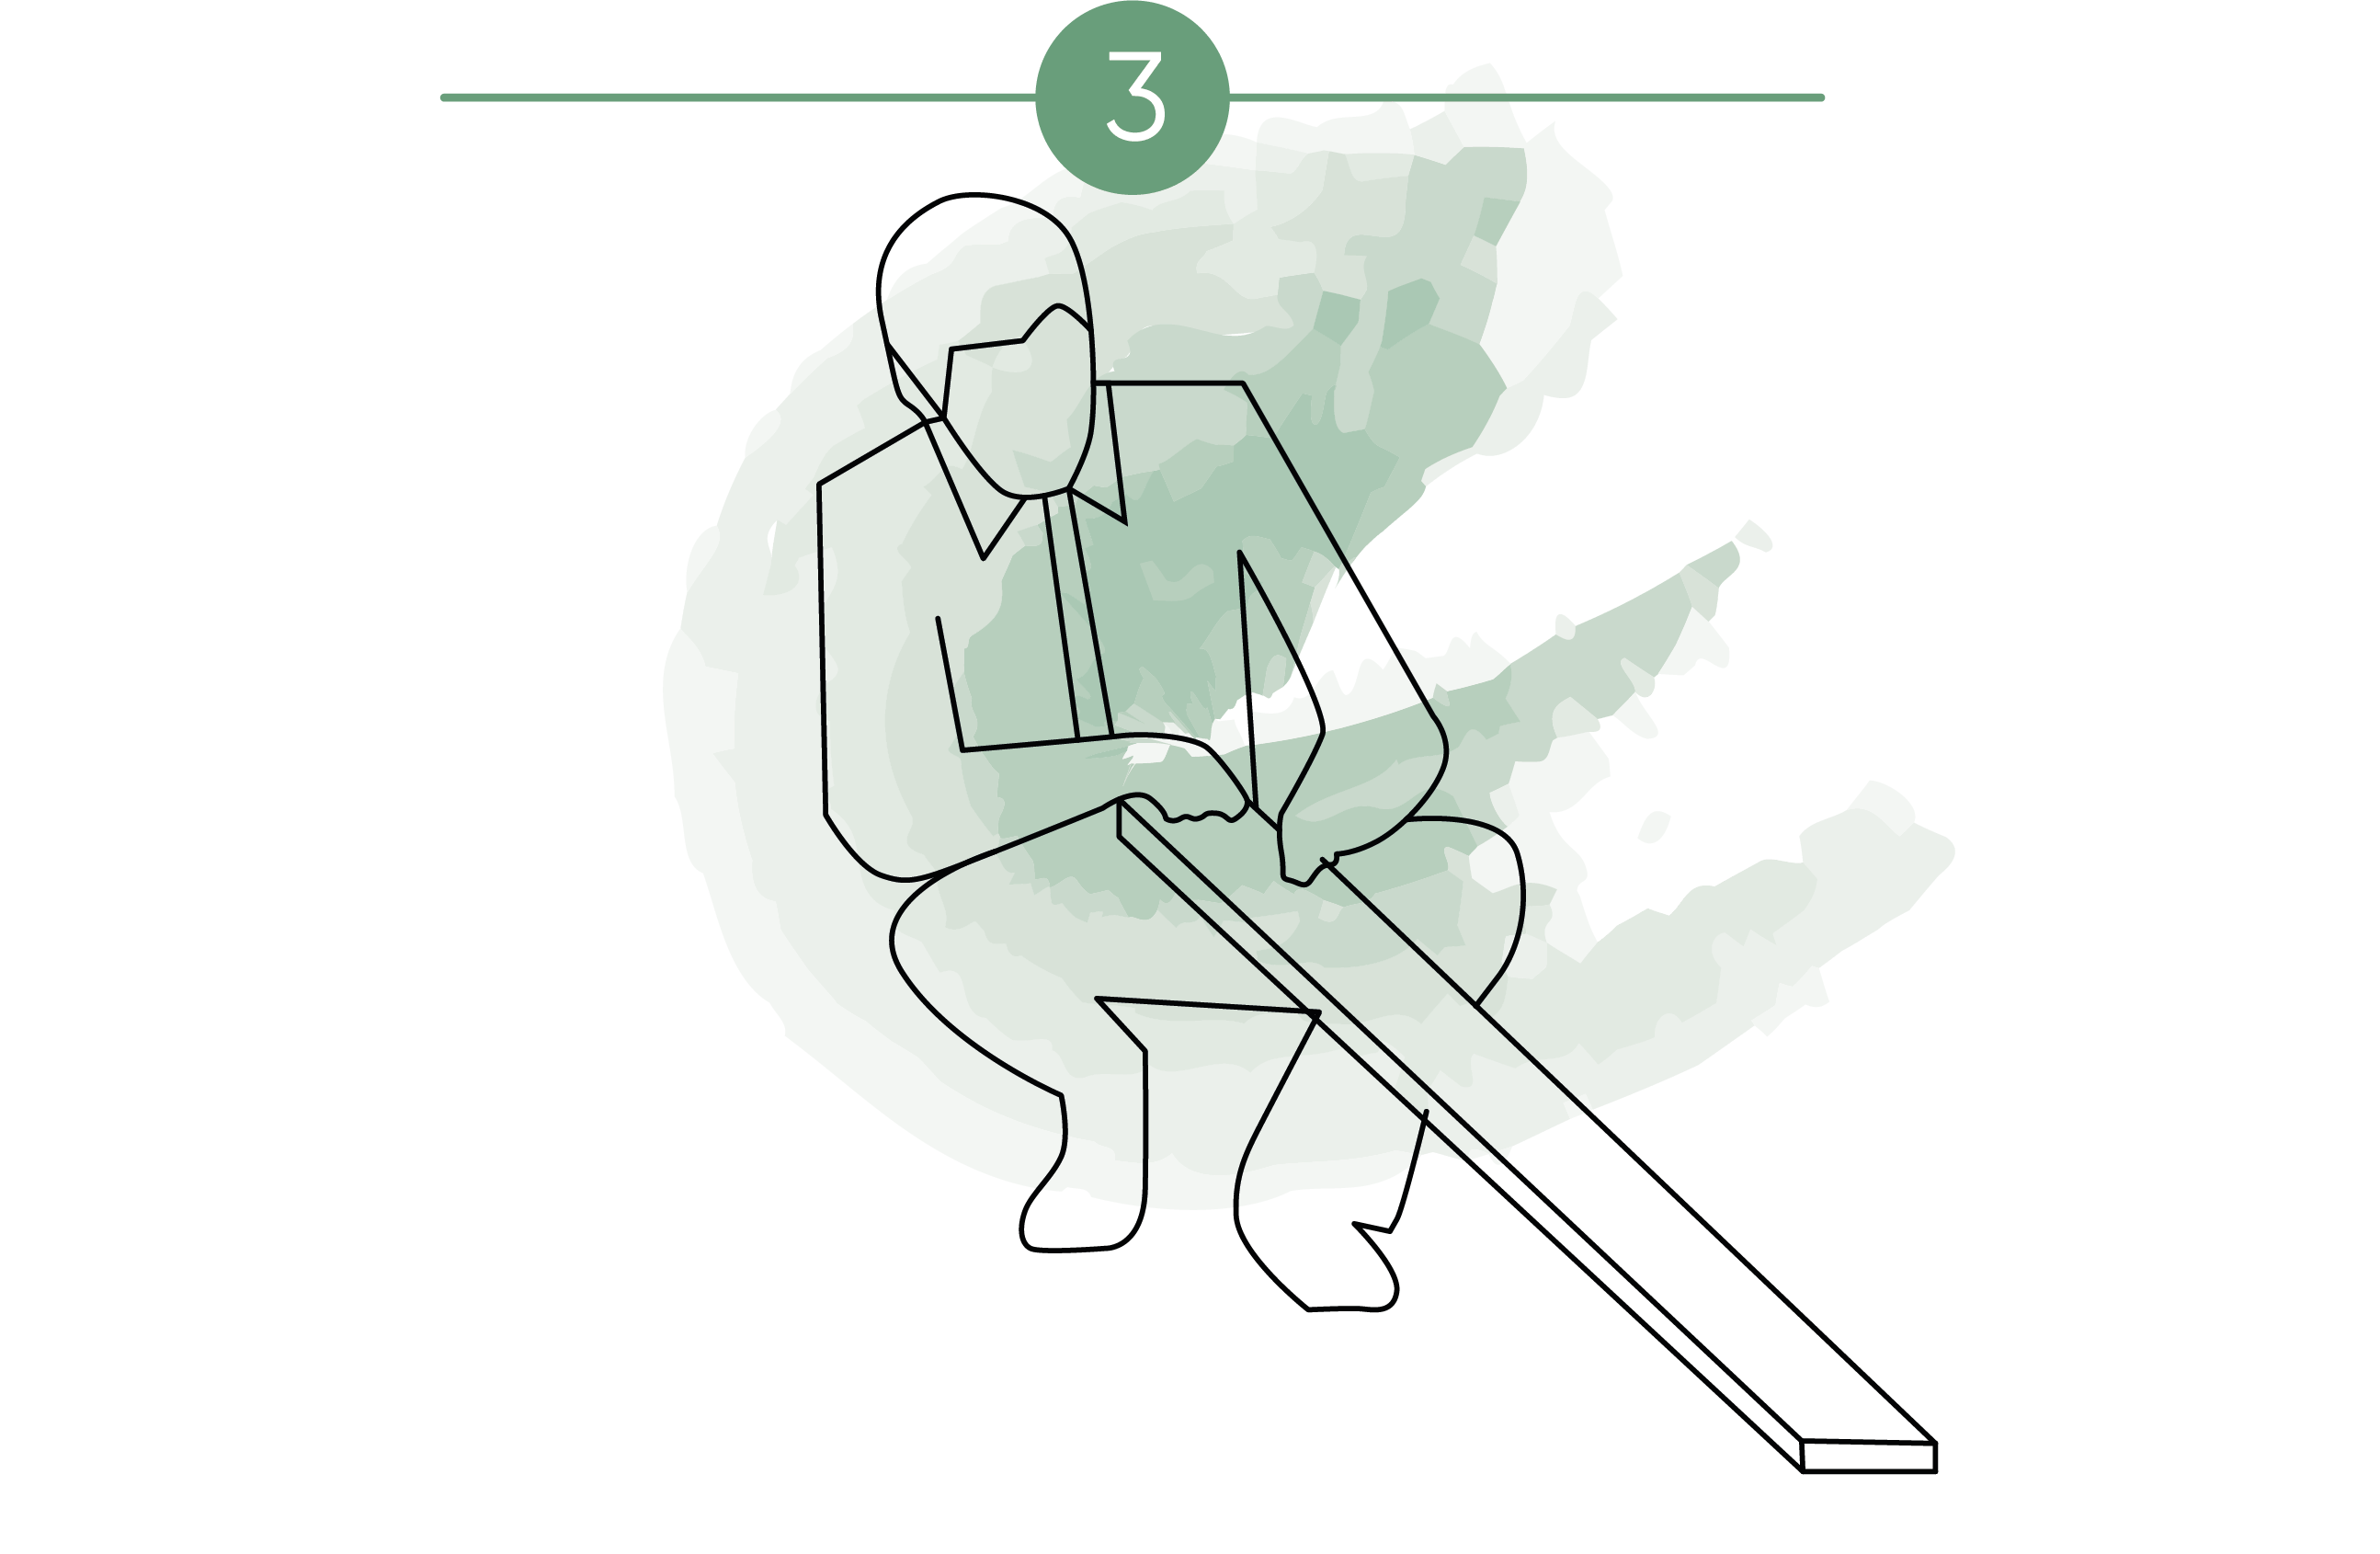
Inspect the parquet boards before installation.
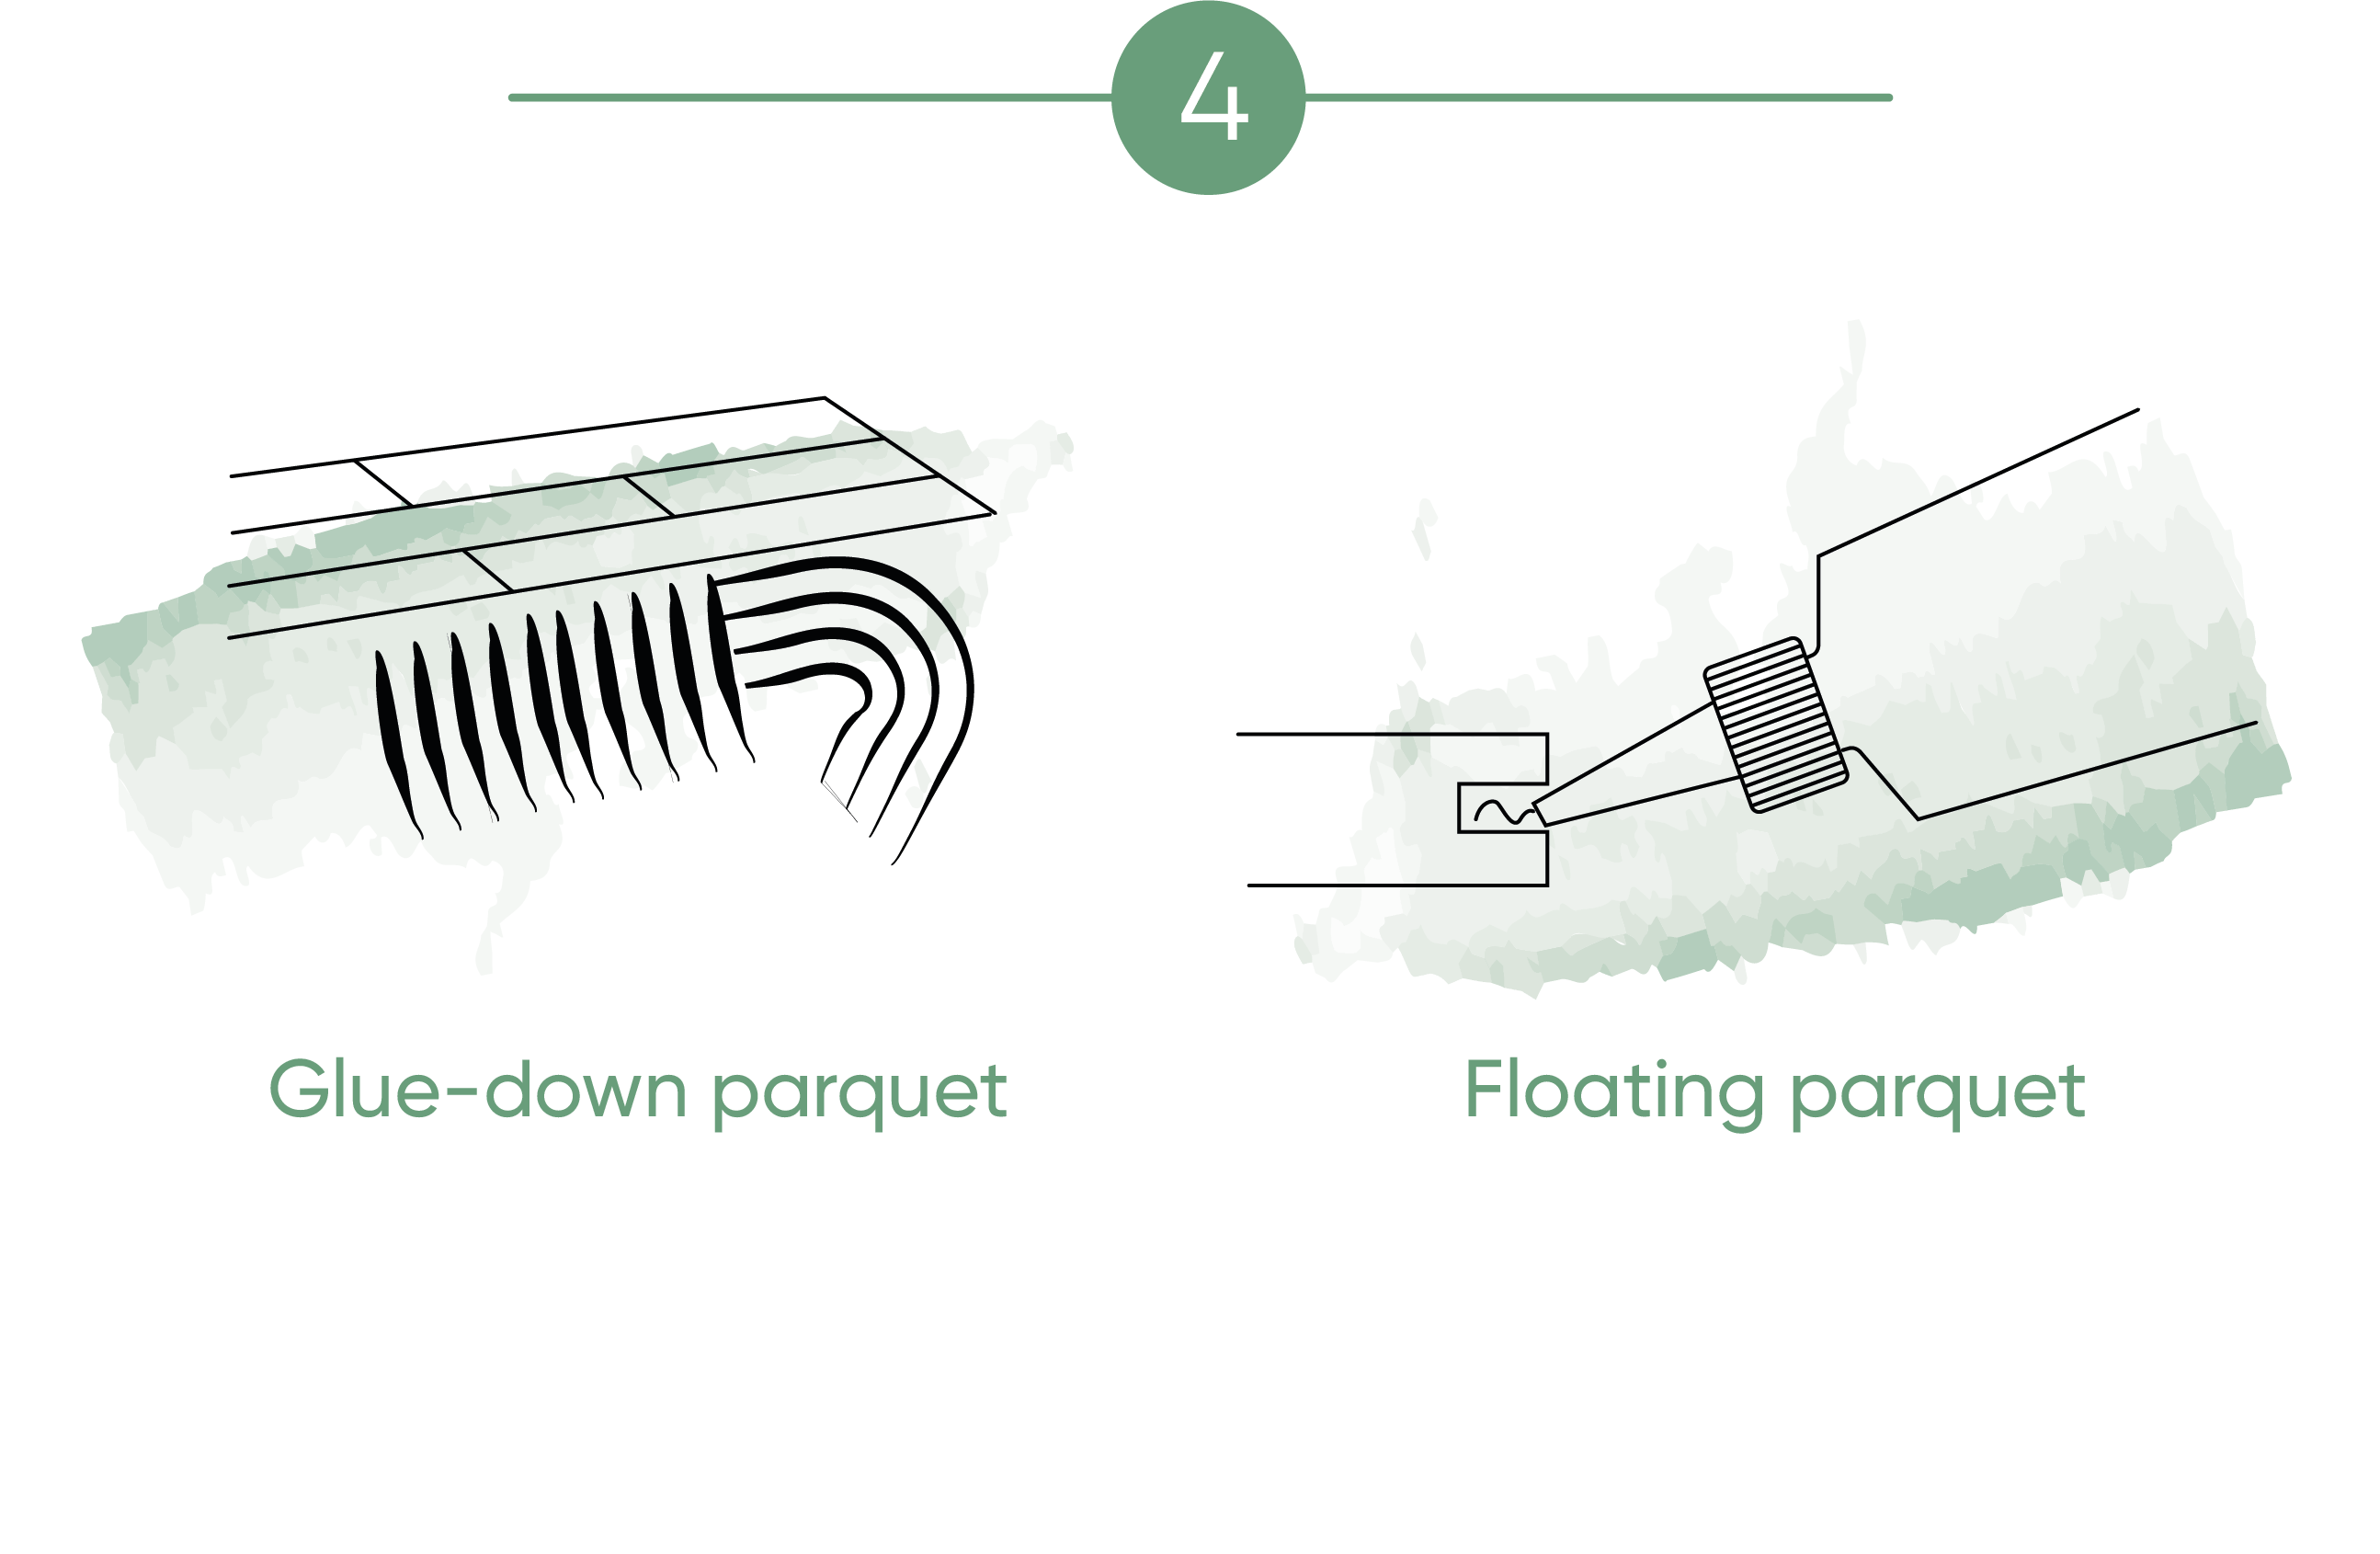
Use the correct adhesive.

Use the right tools for each task.

Tap on the tongue with a wooden block.
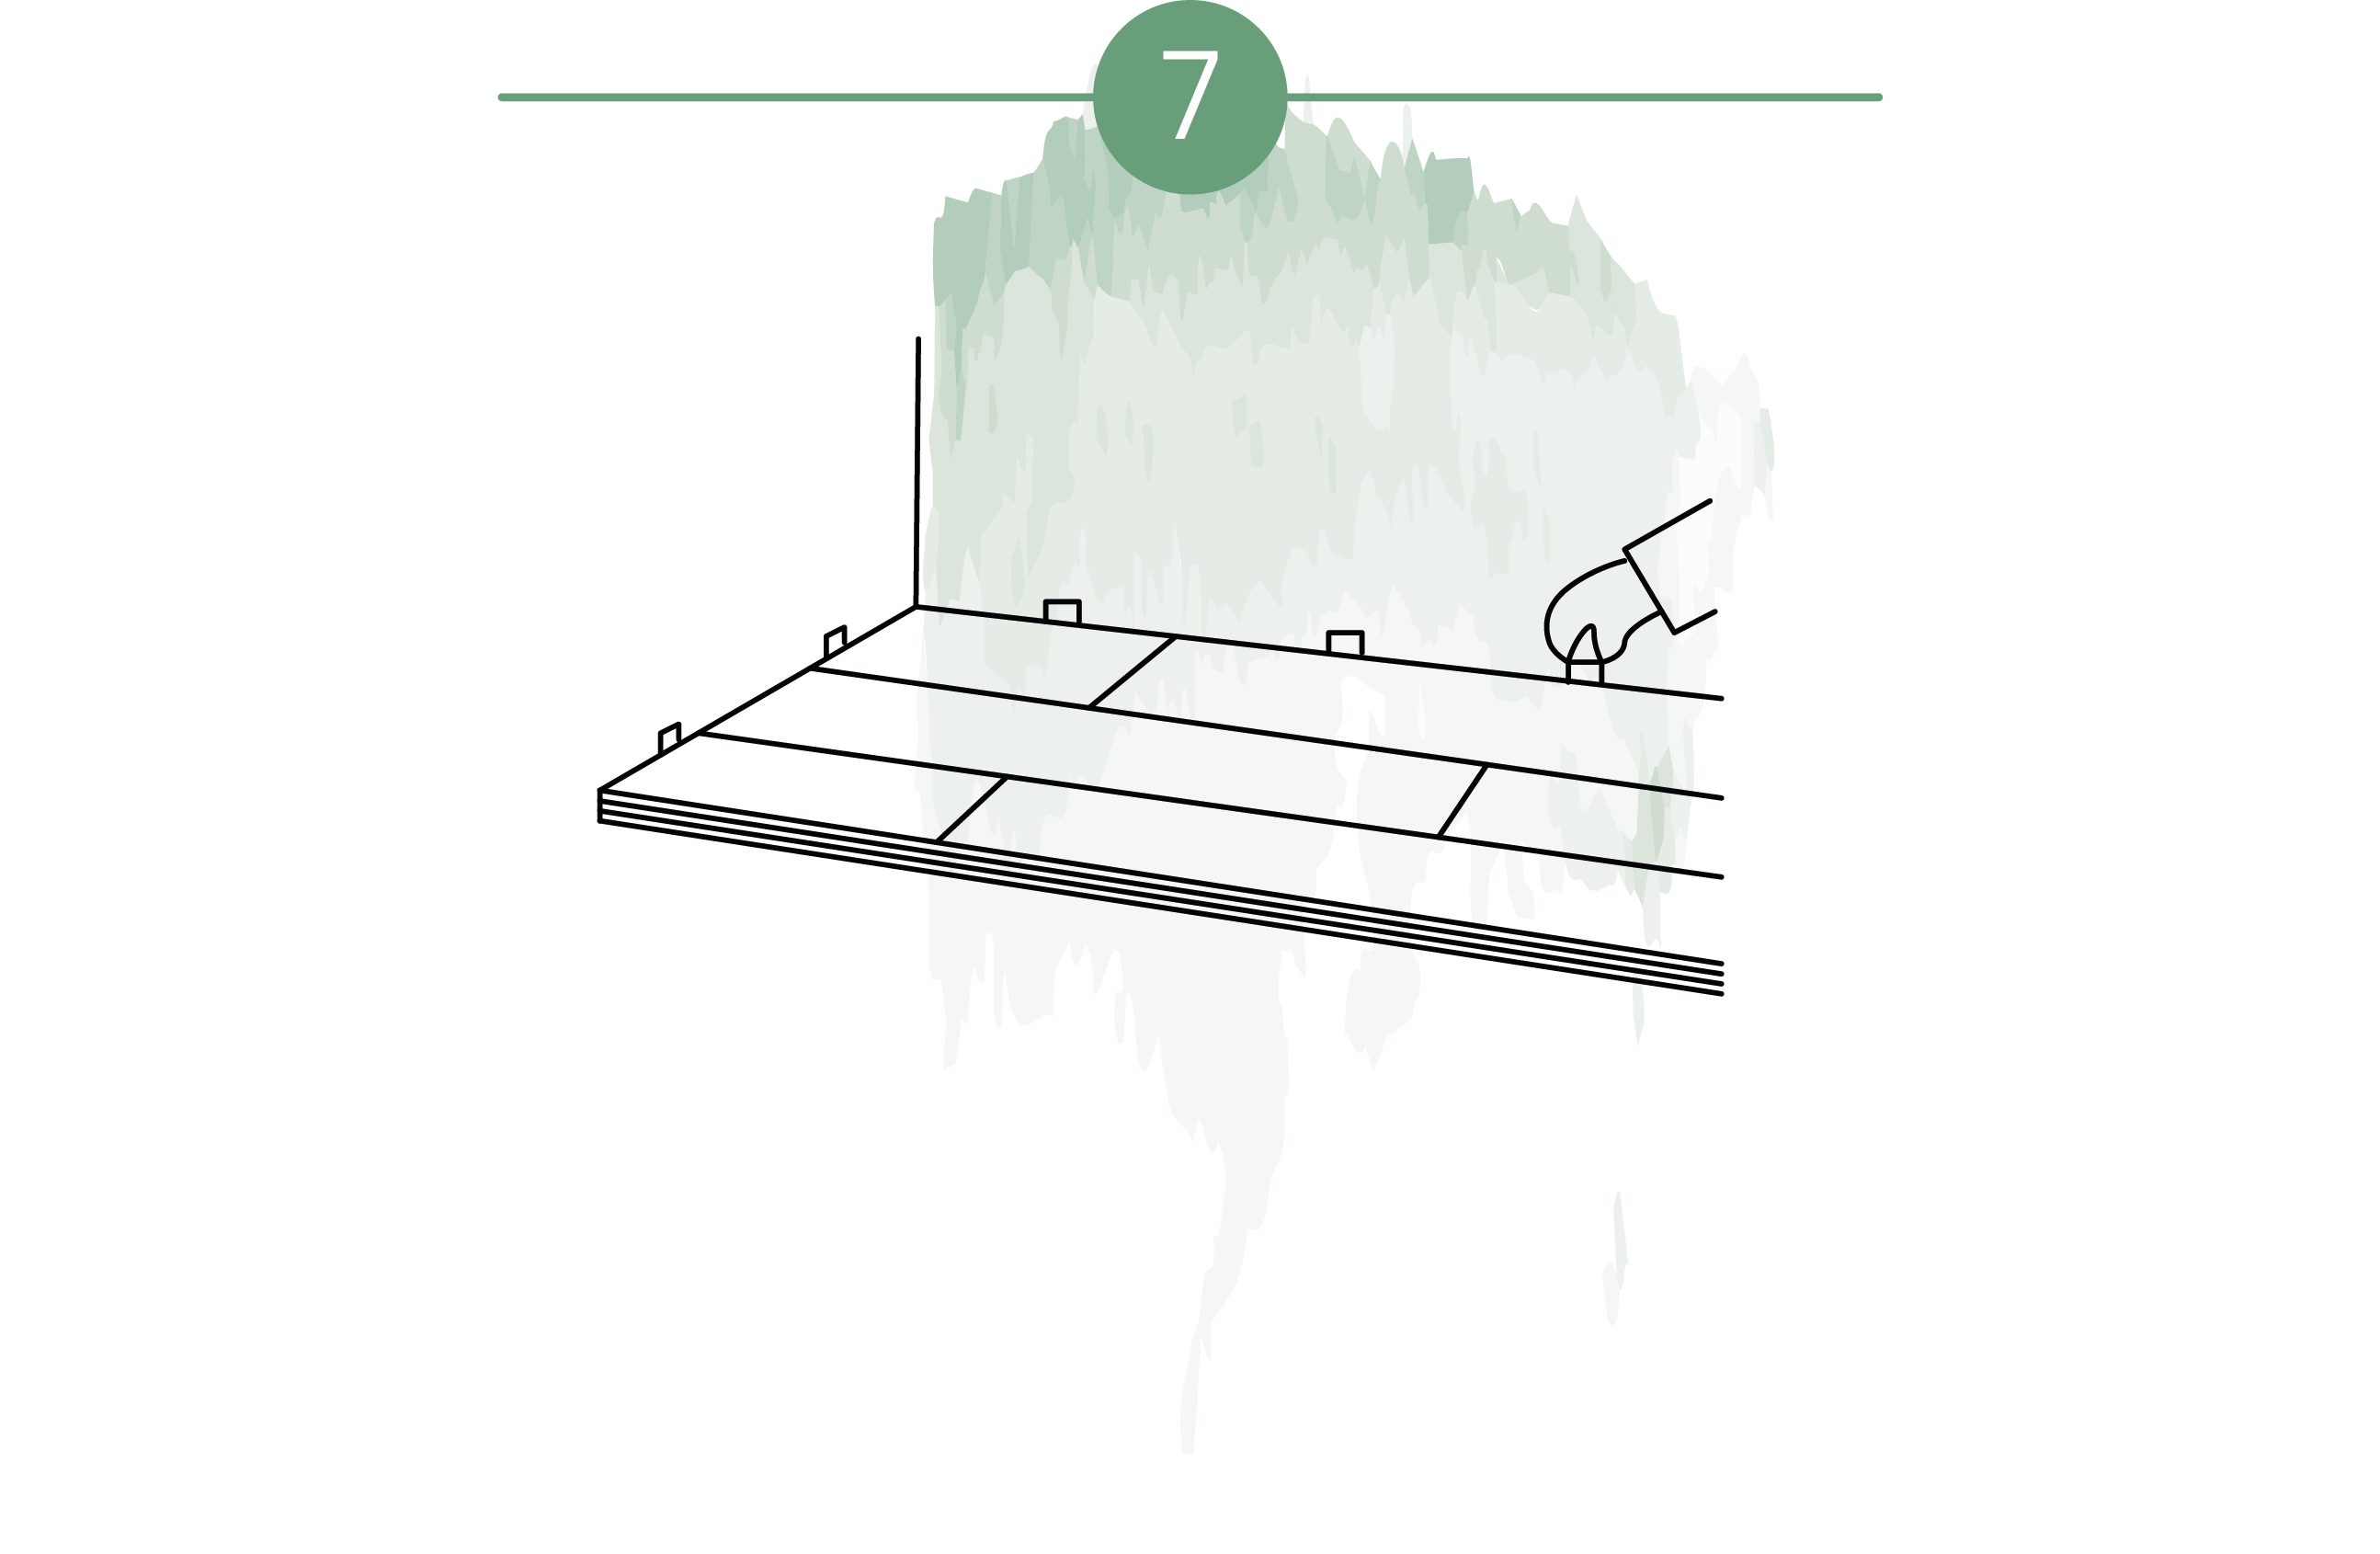
Place wedges in the wall to maintain the expansion joints and let the adhesive of the first three rows dry for three hours.
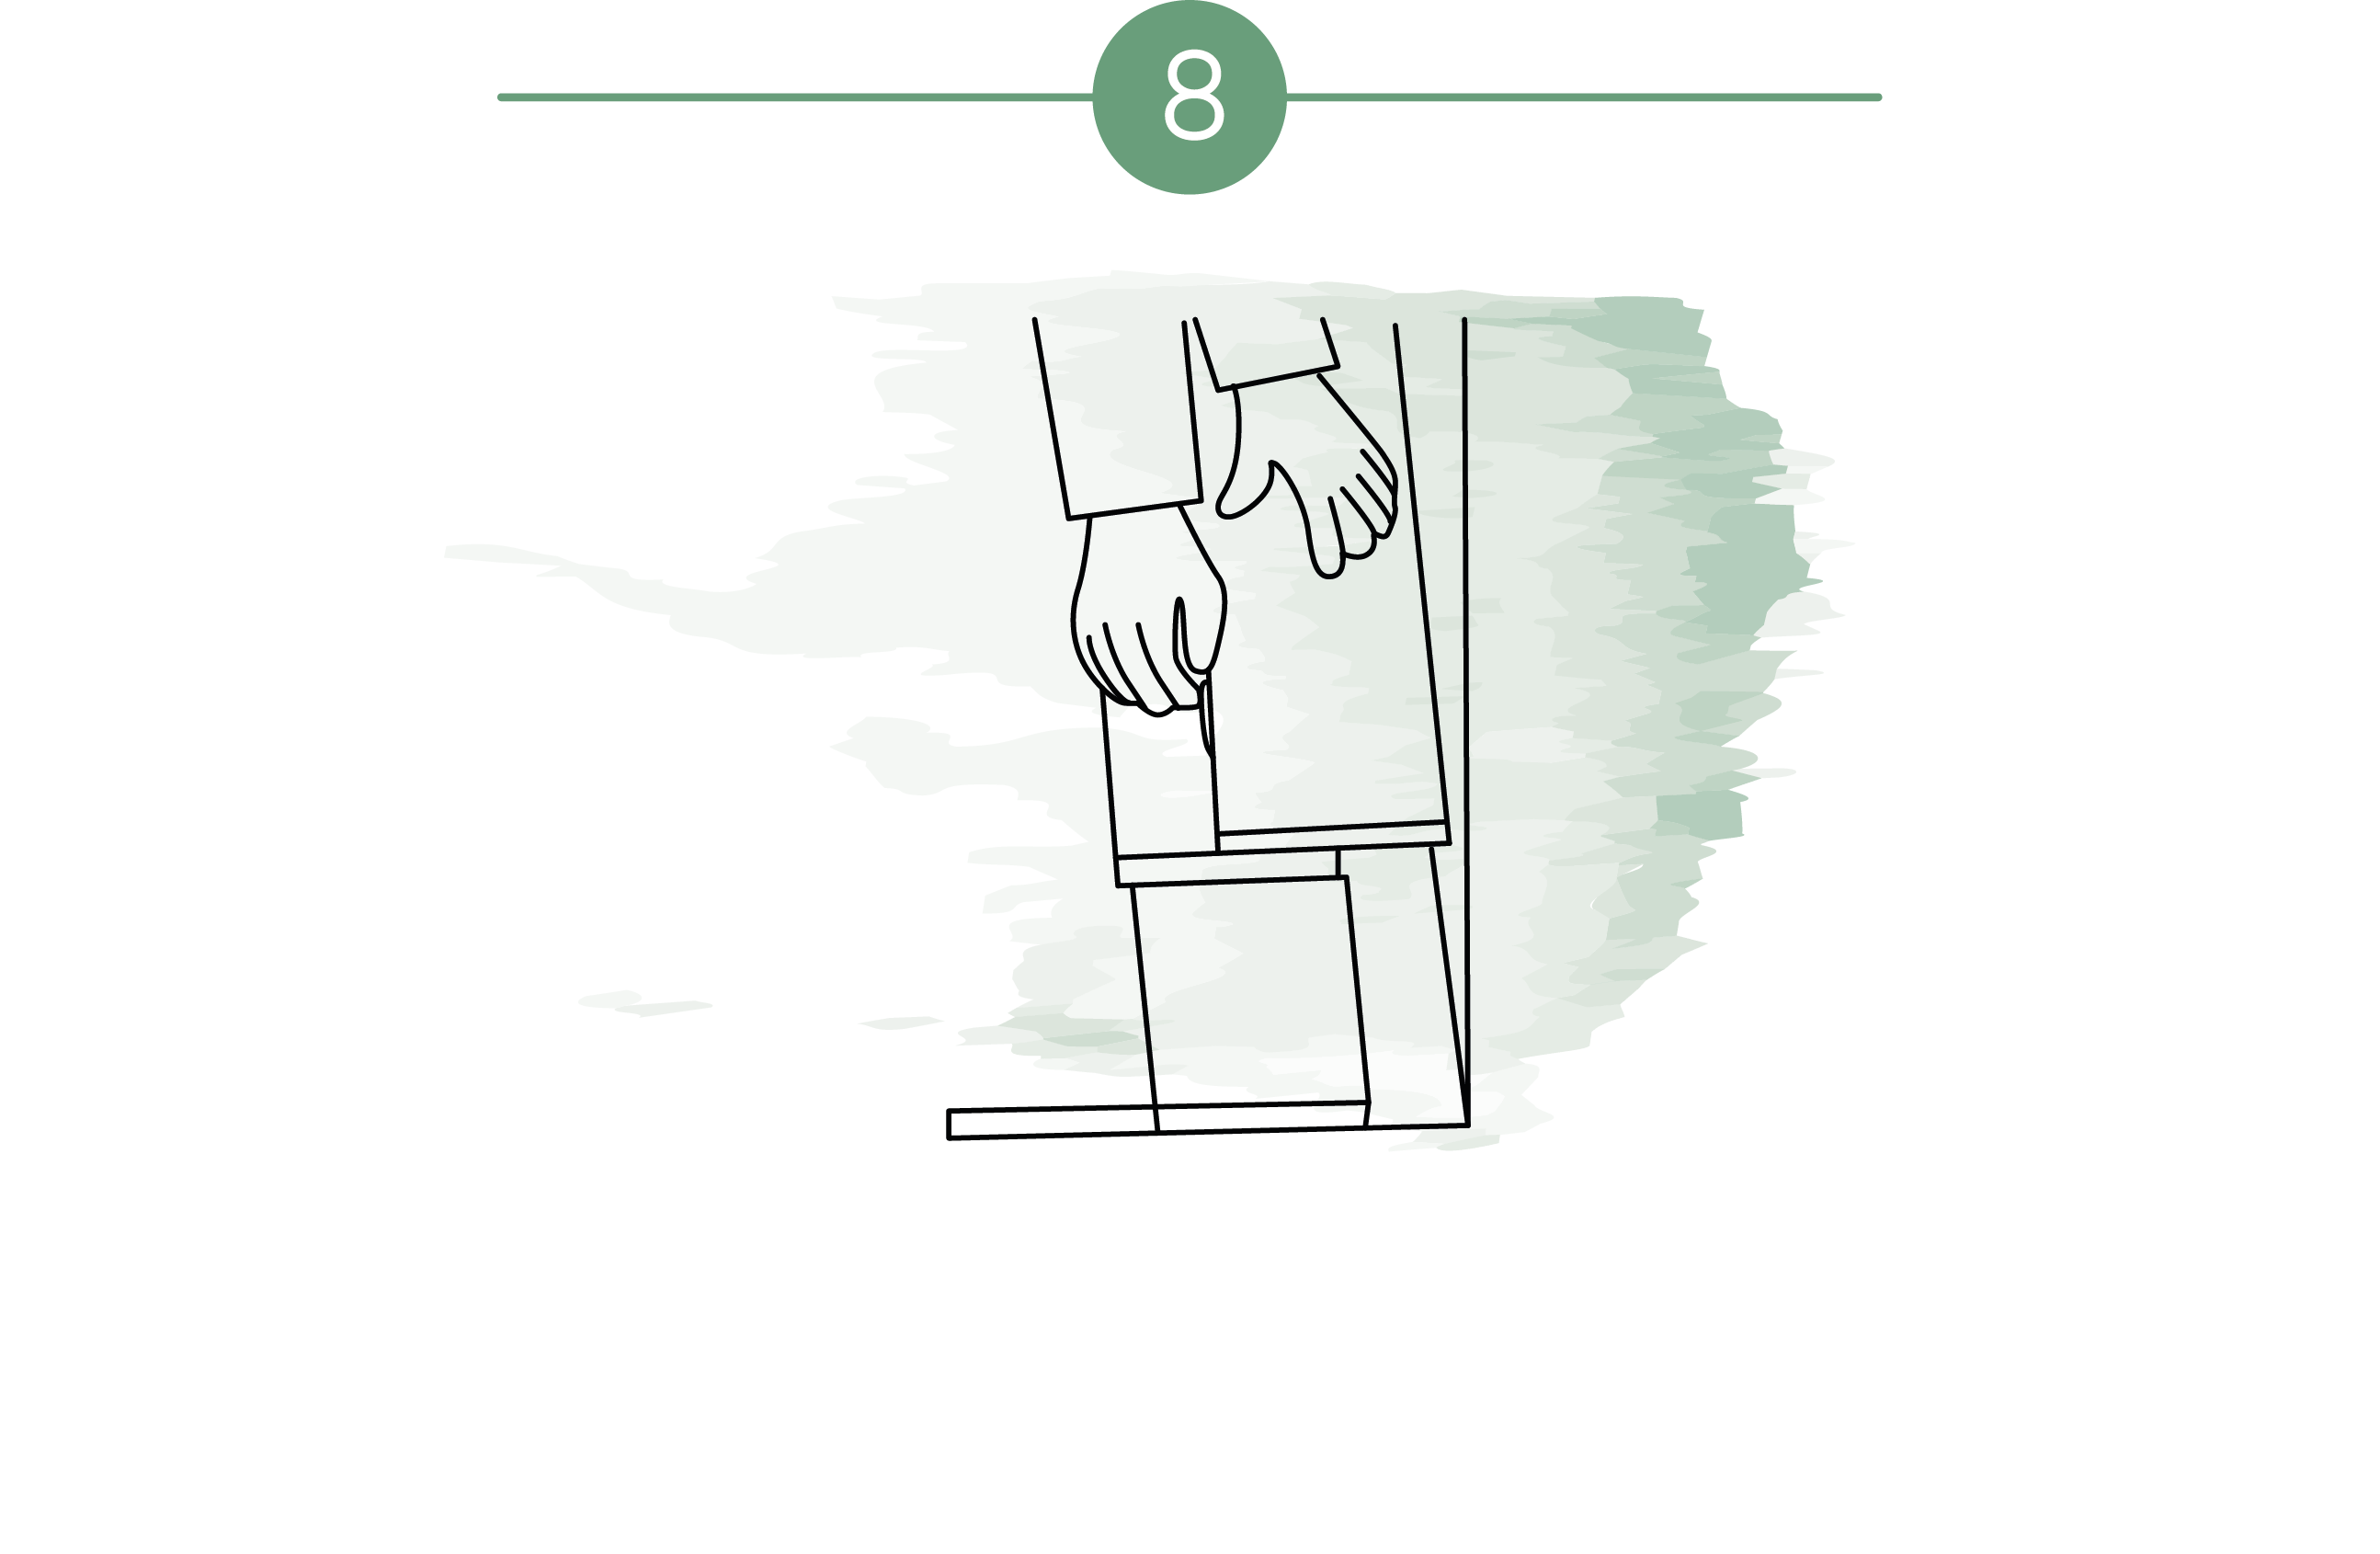
Saw the last board to the required width.
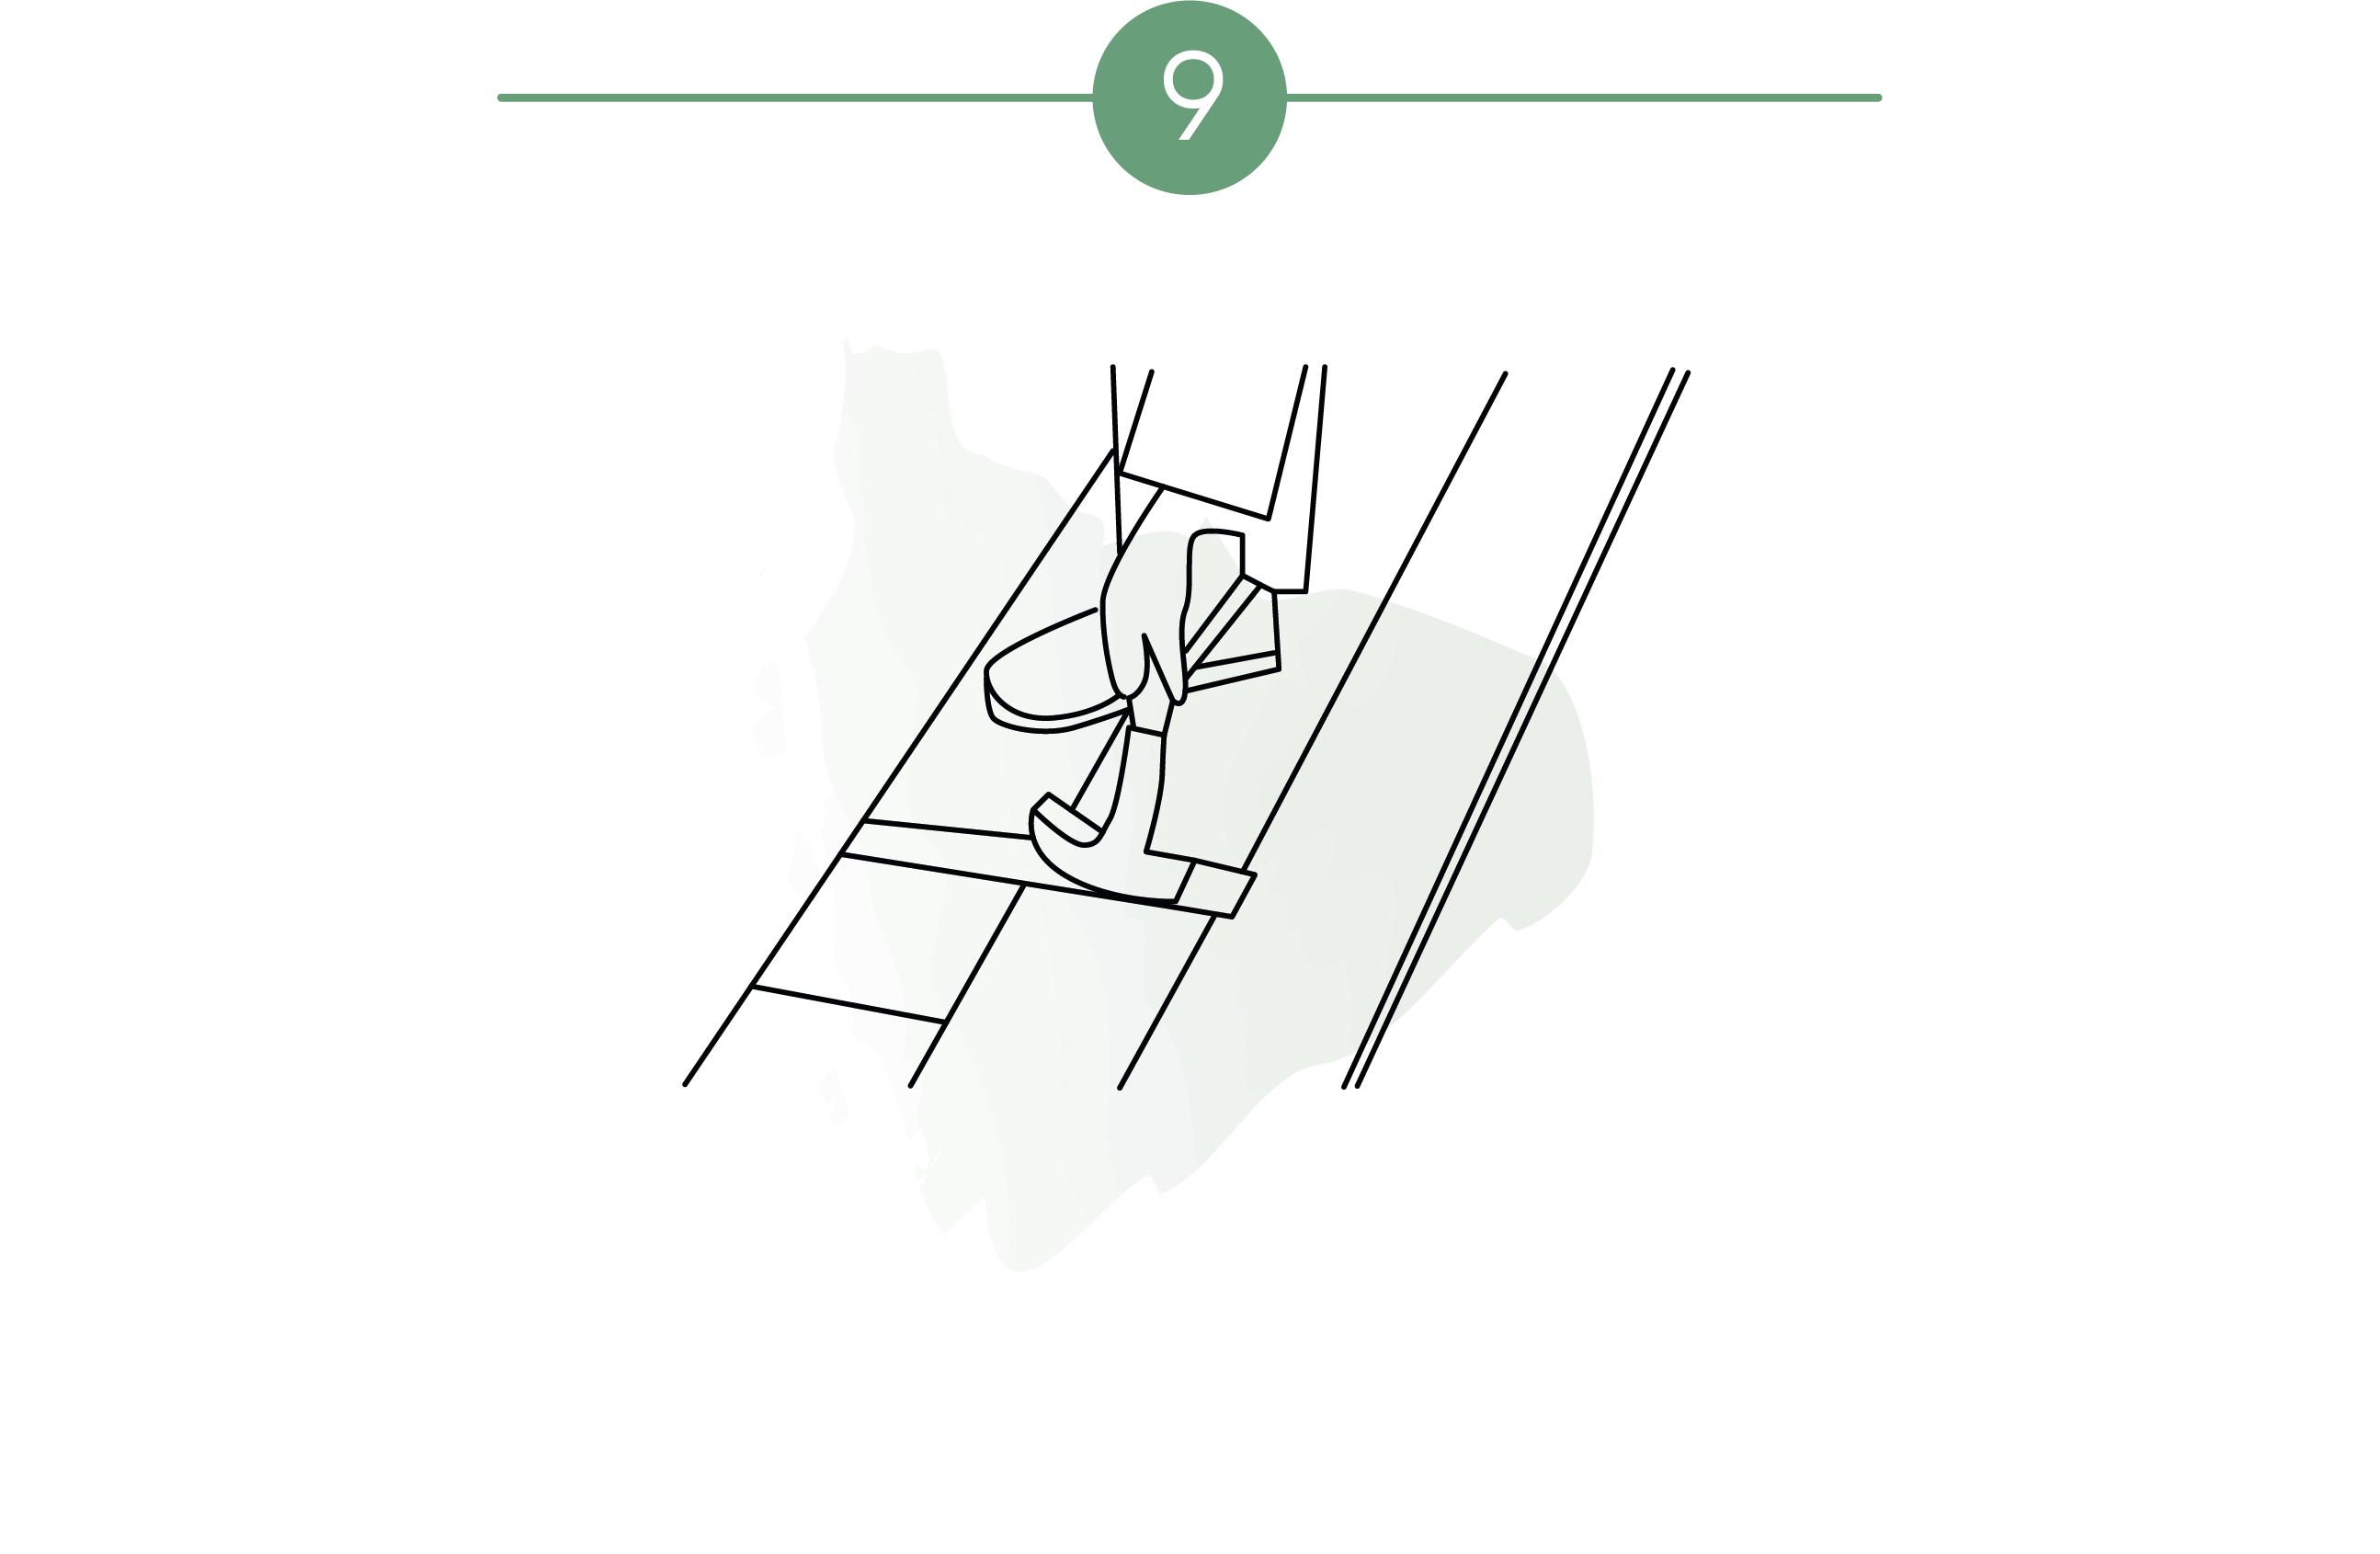
Use a drawbar to secure the last row.
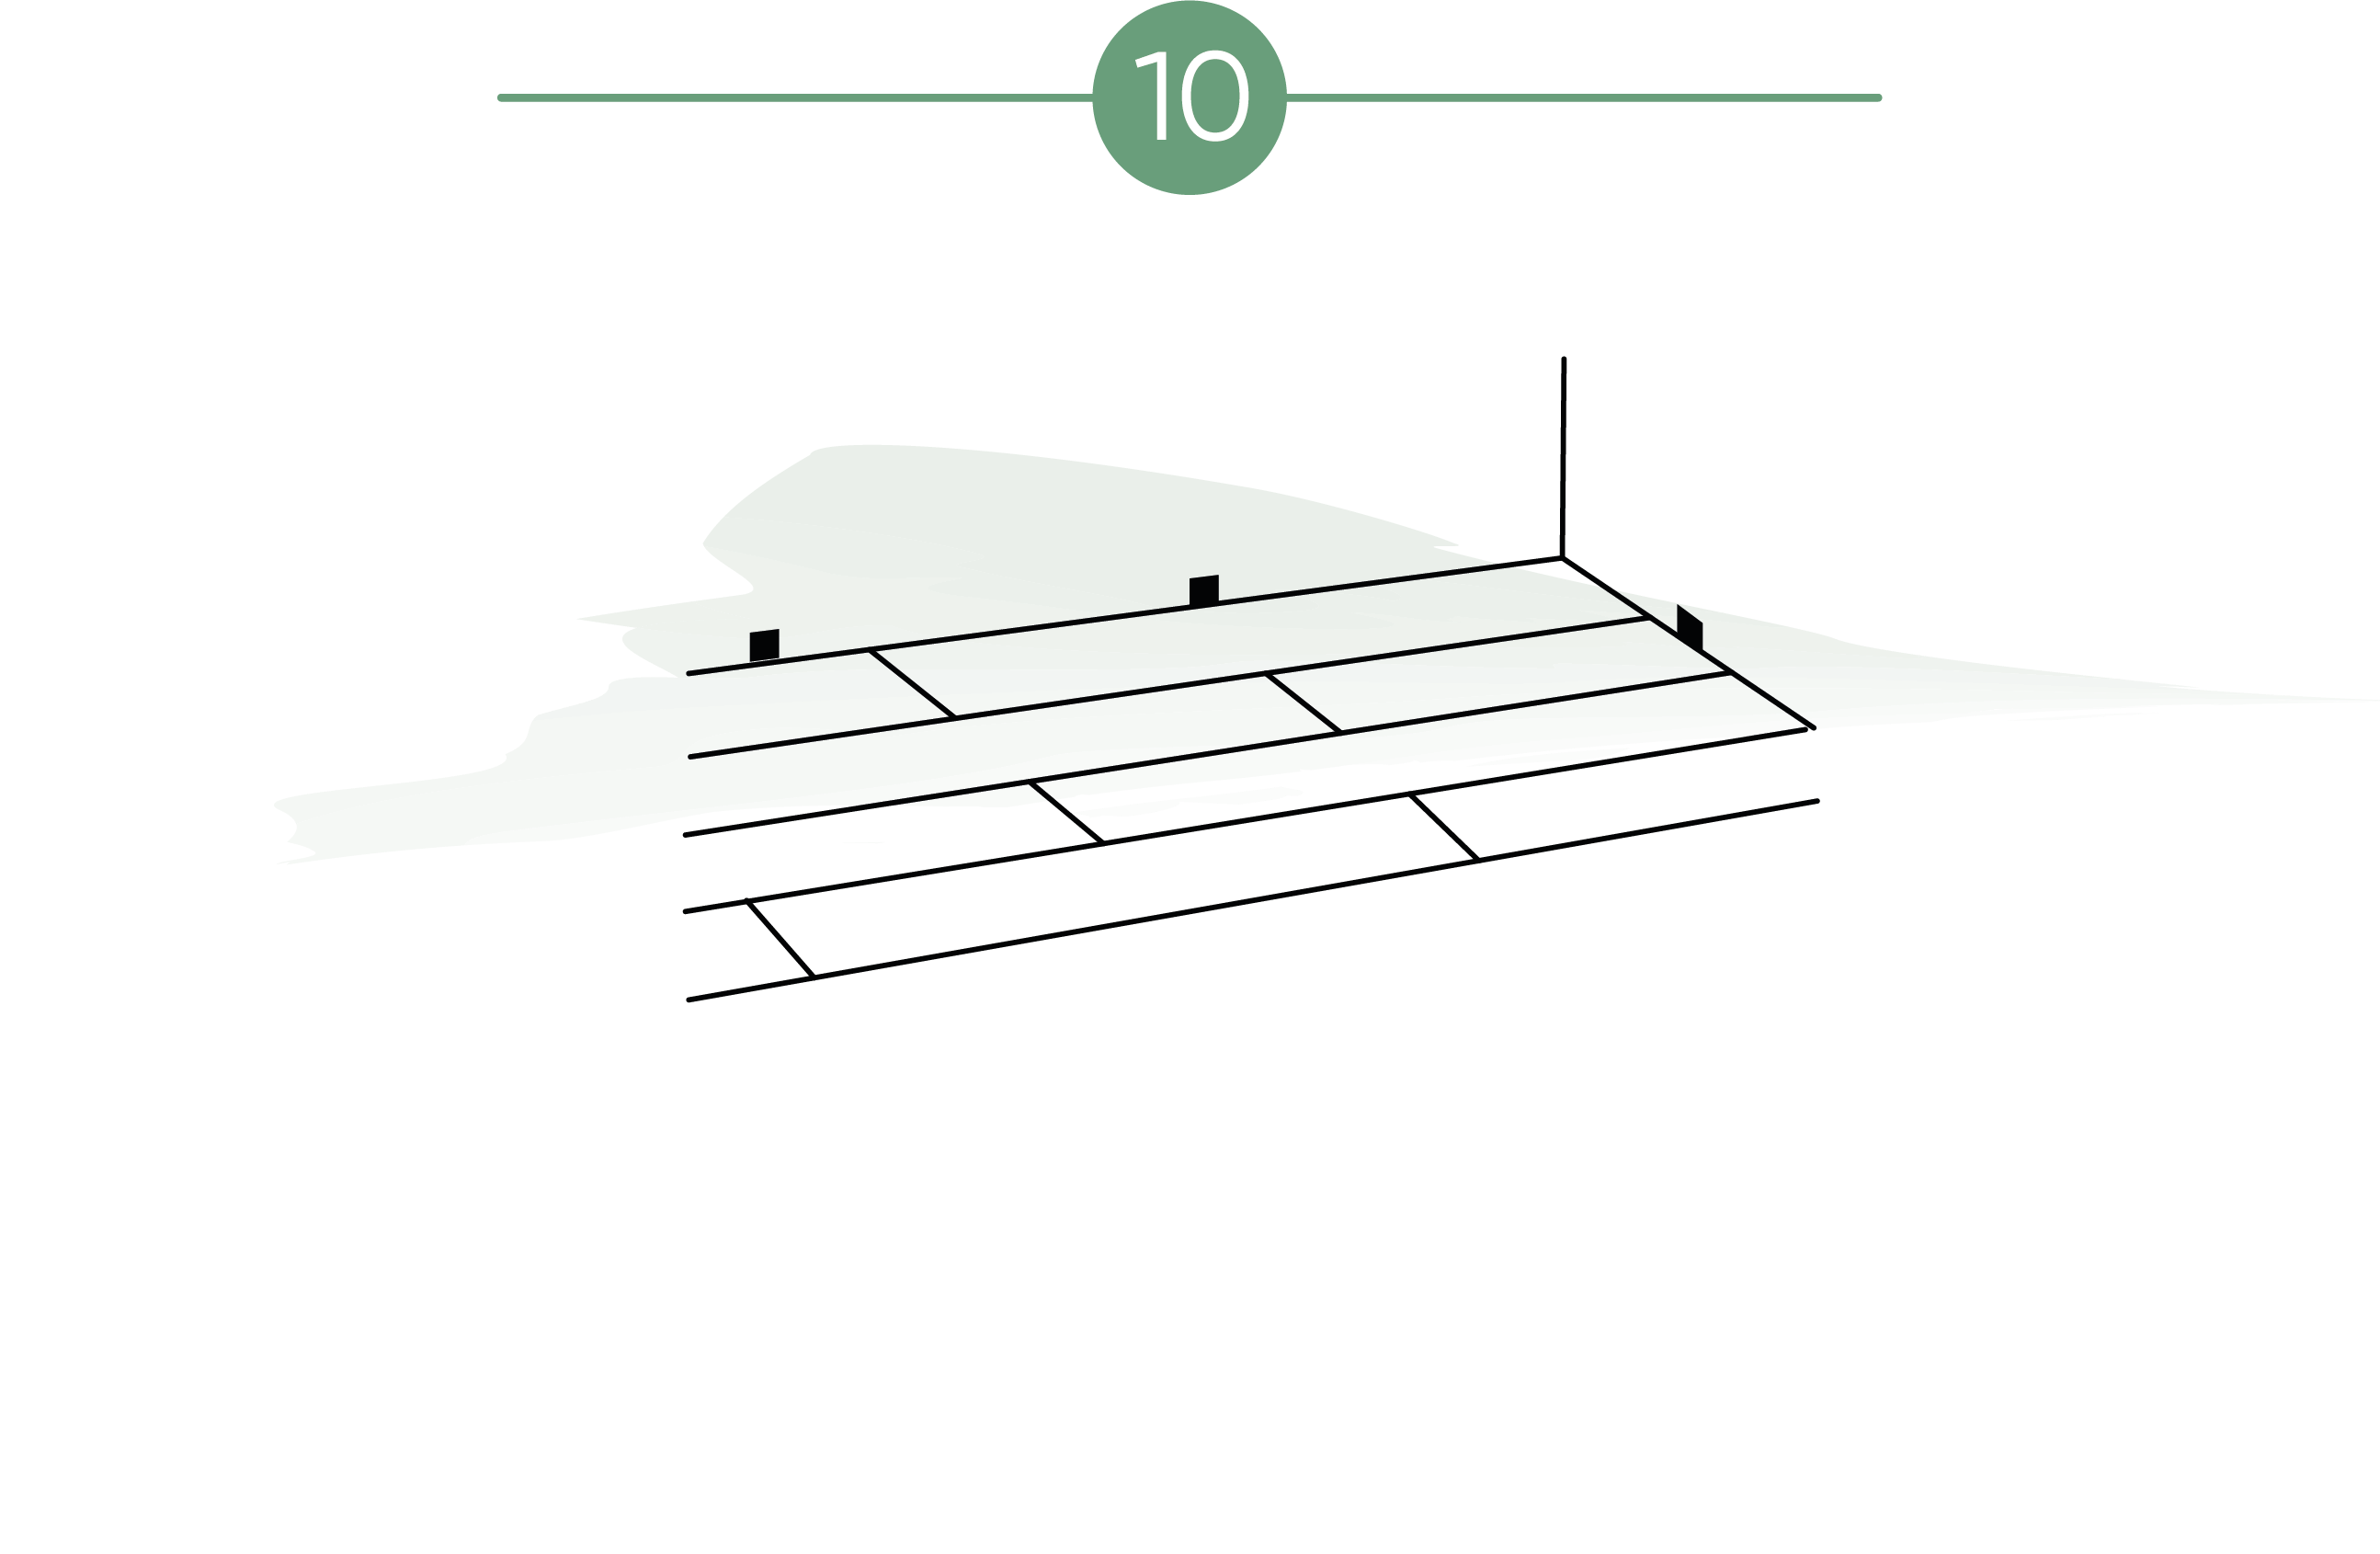
Allow the adhesive to dry for 24 hours before removing the wedges.
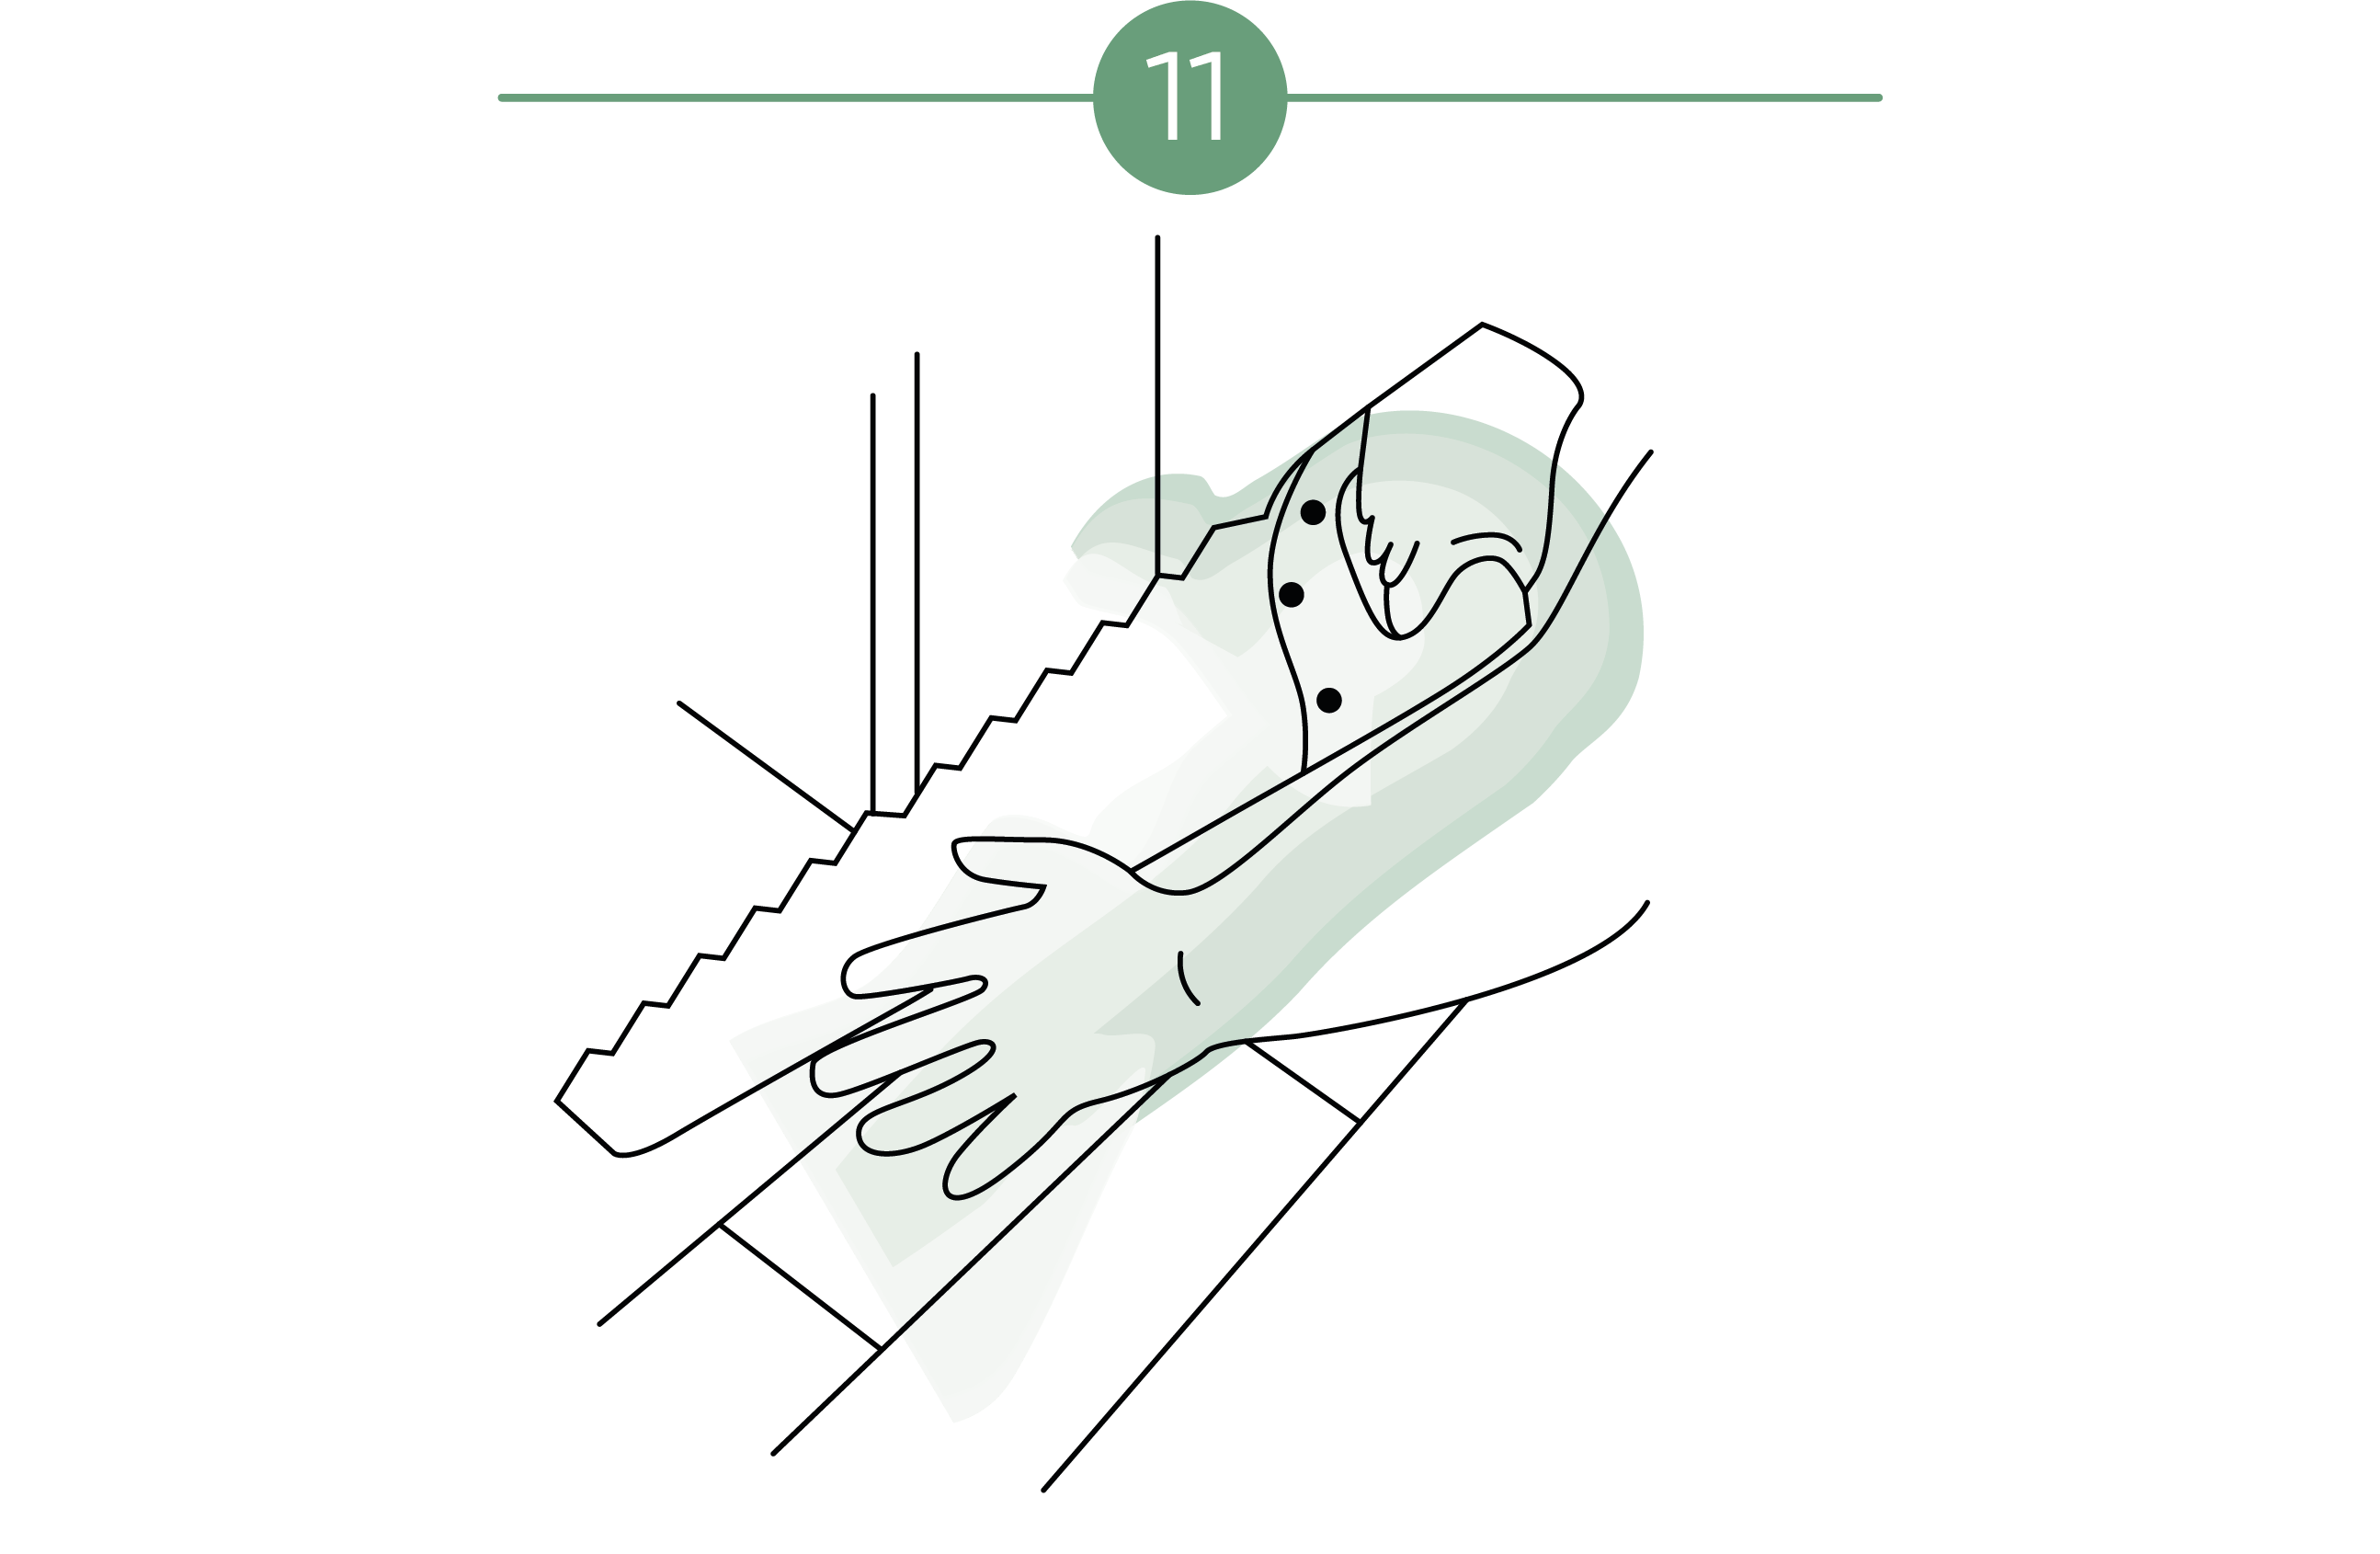
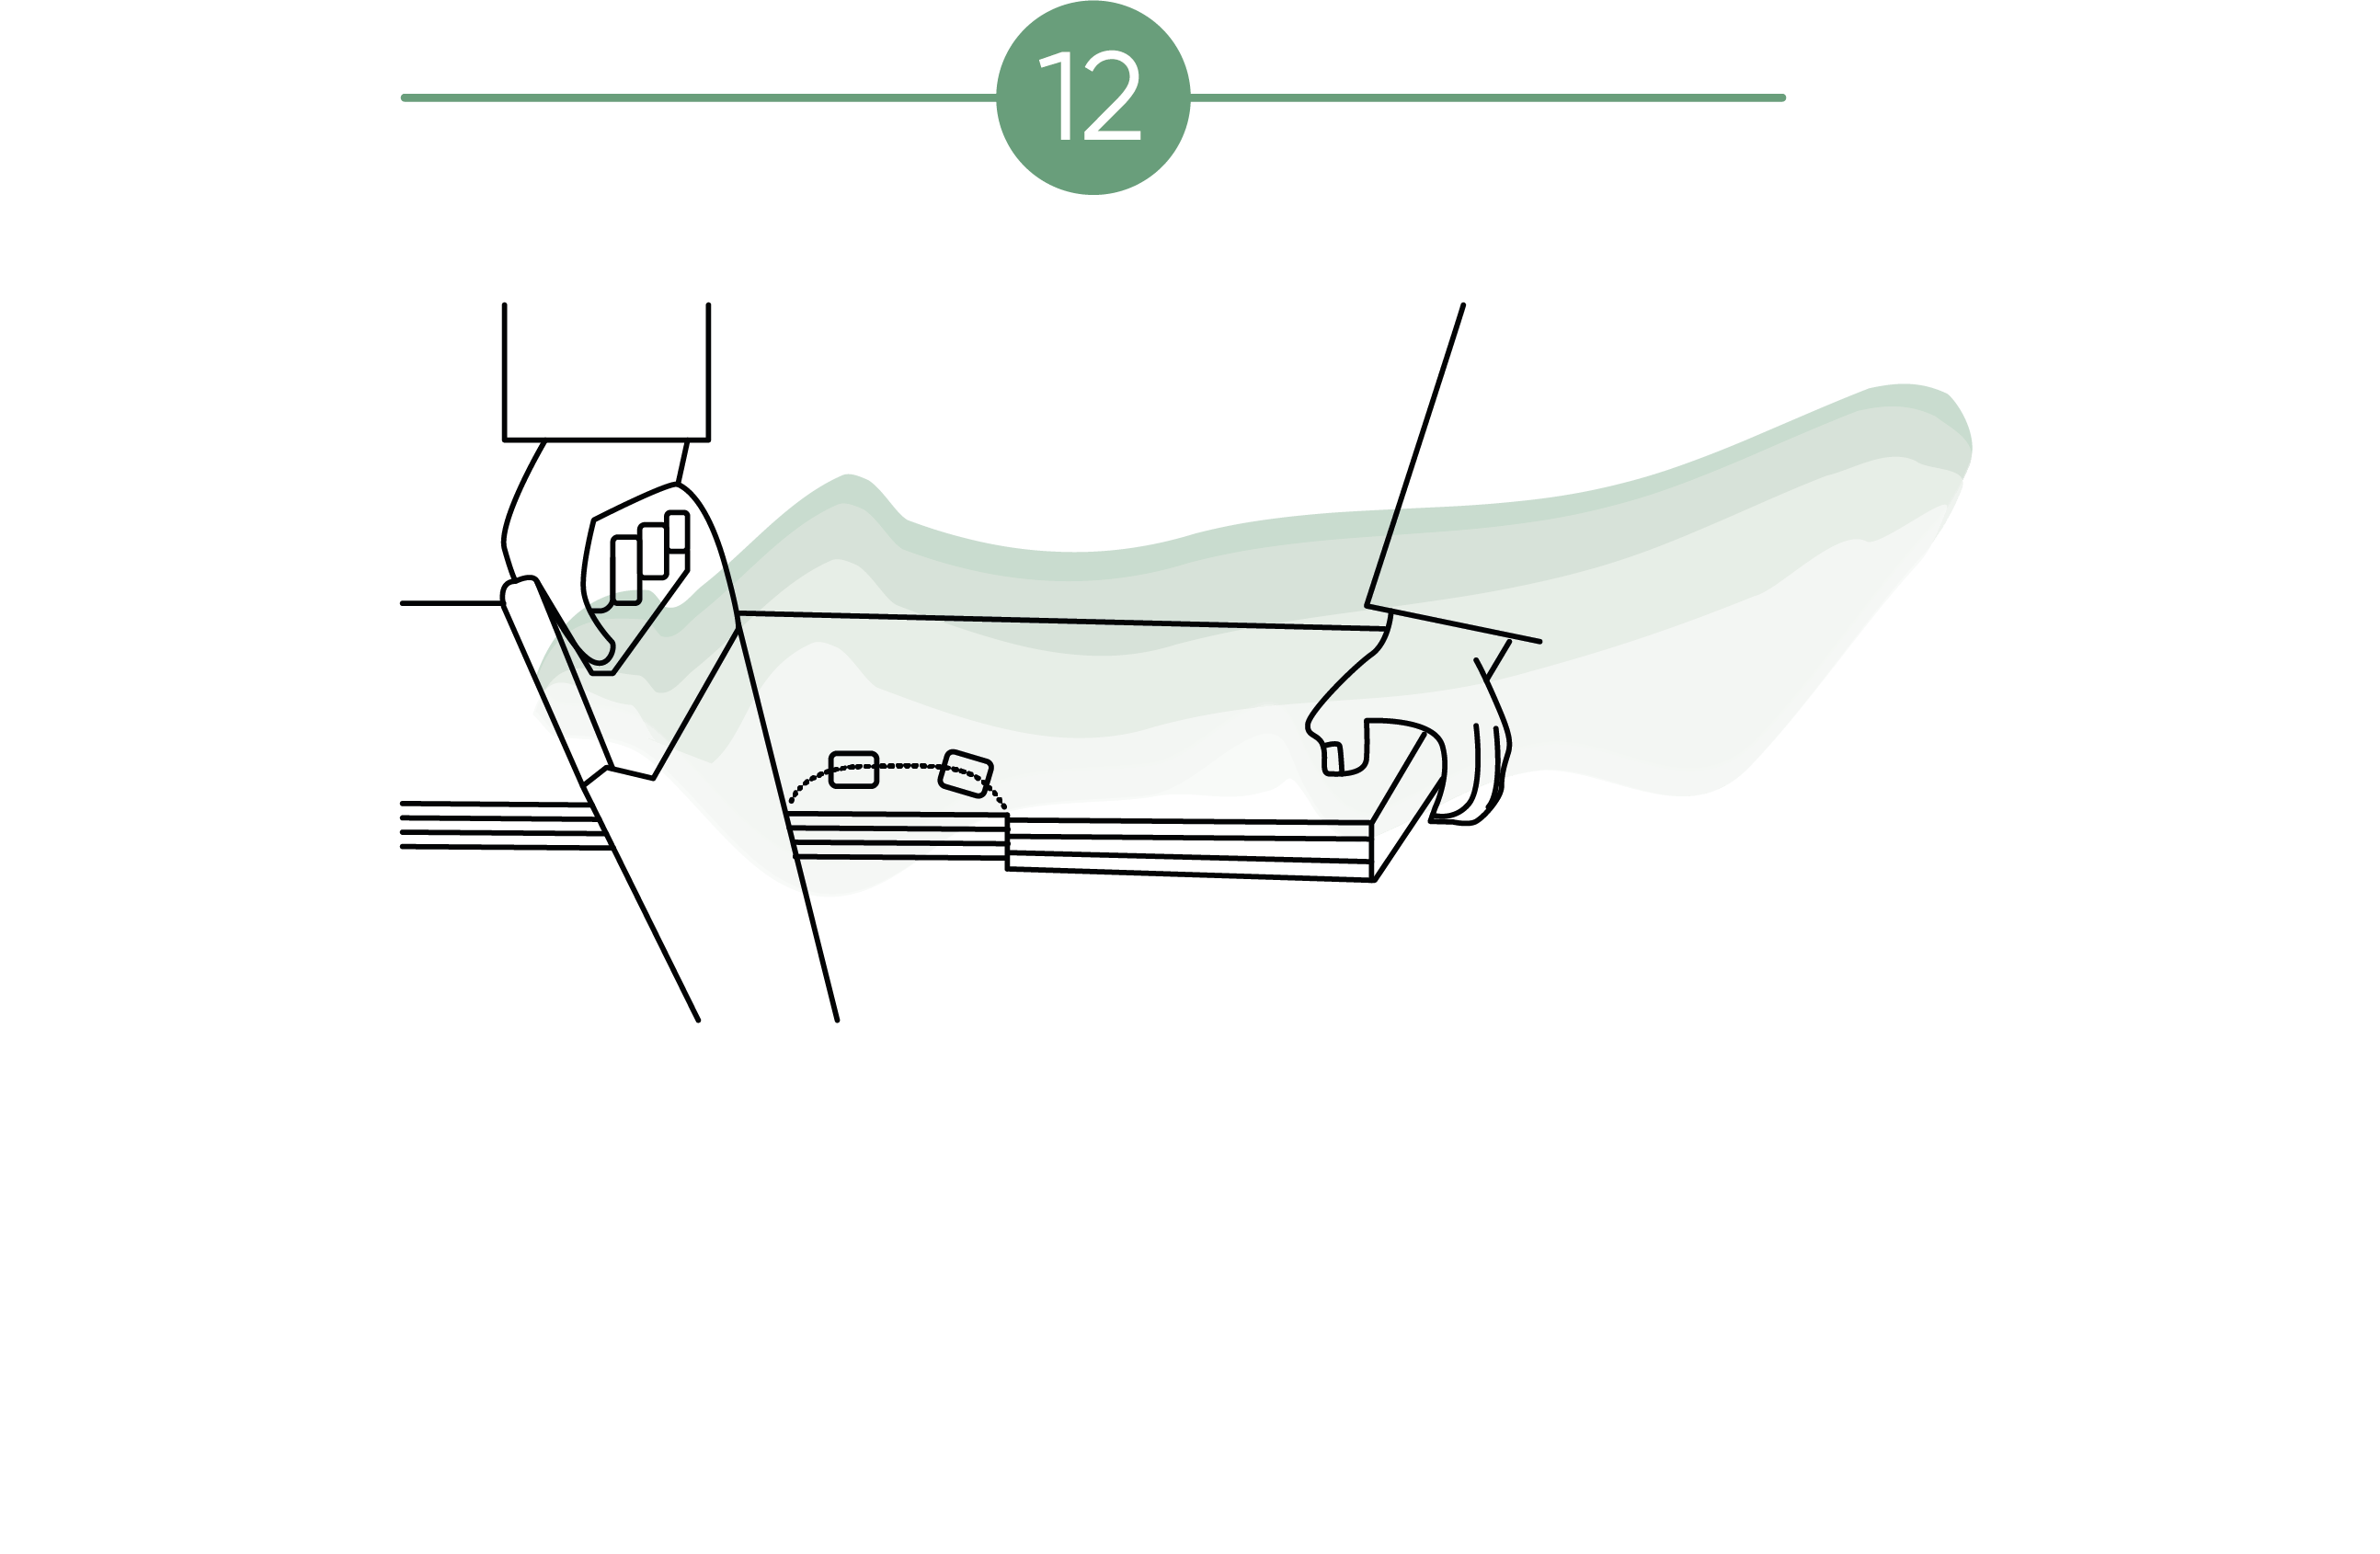
Lower the door frame.
Maintain expansion joints around heating pipes.

PRODUCT QUALITY ASSURANCE AND LIABILITY FOR DEFECTS
Before installation, inspect the floorboards in sufficient light or daylight to detect any visible defects. Also inspect colour and structure. The characteristics of a range, such as knots, natural grain pattern and colour variation are not defects. We recommend taking floorboards from different packs simultaneously to ensure an even distribution of the grain pattern and colour tone. Damaged and defective floorboards should not be used at all or should be installed in as suitable a place as possible, such as the beginning or end of a row. Each installed floorboard is deemed to have been approved by the installer and/or the owner. The manufacturer does not accept post-installation claims. The owner is responsible for checking moisture and uniformity deviations and must ensure that all requirements regarding the conditions listed in these instructions are met prior to installation. Liability for defects only covers WINco floors that have been installed and maintained in accordance with the instructions.
